DIY Christmas Countdown (A.K.A. Advent) Calendar
Every year in the weeks before Christmas, we play this really fun game. I buy an Advent calendar, and then everyone guesses what they think might be behind each number before it is revealed. For the past few holiday seasons though, it’s been getting harder and harder to find the kind of Advent calendar that we need to play the game. The last one I got was actually imported from Germany, or some Eastern Bloc country, and the pictures behind the flaps were too obscure for anyone to guess correctly. We were guessing things like, you know, wreath or candle, and then we would open the flap and find like, a bratwurst. Then this year I went looking, and the only Advent calendars I could find had prayers written inside the flap, which is nice, but you know, we’re just not churchy enough to guess Bible passages like Matthew 2:10.
So, I went to the boards looking for ideas to make my own calendar and I came across this idea from Parents.com. The photo on Pinterest looks like this:

Photo courtesy of Parents.com
As you may have guessed, I have some muffin tins handy, so it seemed like this would be fun to try. (A mini-muffin pan works best since it has 24 muffin cups.) I did not, however, have those magnetic circles handy, nor could I find any that could be conveniently had. So, I decided to try a different path, using paper muffin cups dyed with food coloring.

First I dipped them,

then I dried them,

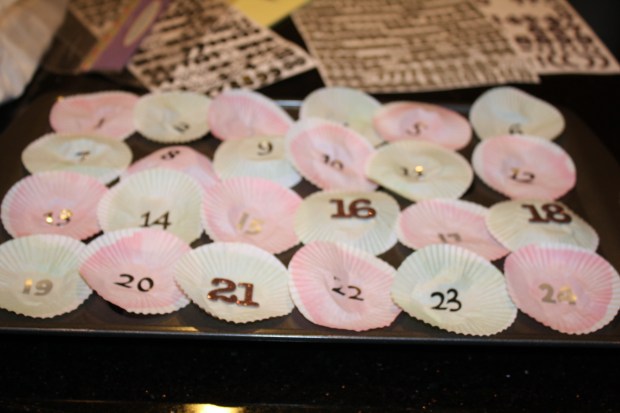
and finally I put numbers on them with stickers. Since I used the stickers I had handy, the numbers were not all the same, but you can make them uniform if you plan ahead a little further than I did.
Next came the real challenge: What to put into the tins? I searched around for items small enough to fit, and came up pretty empty-handed, until I found this set:
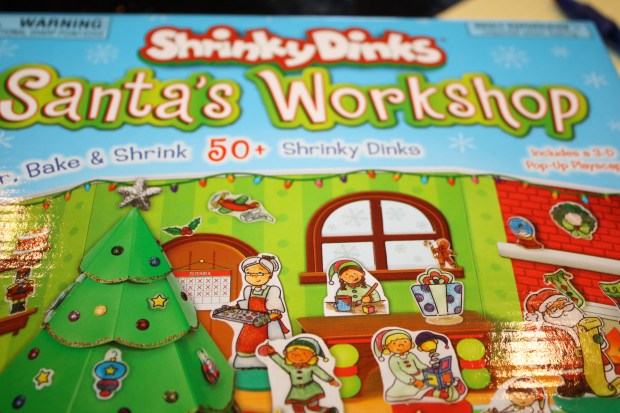
SHRINKY DINKS!!! The perfect solution, plus a little childhood nostalgia. This set ran about $20 dollars, but I figured that getting little figurines or small ornaments would probably cost about the same, so I went for it.
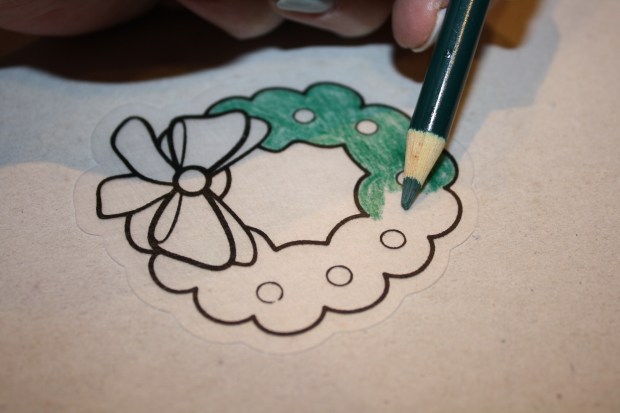
Now, you can do this with your kids, since it involves coloring…but I’m kind of a control freak, plus I wanted to surprise them with the calendar on December 1st, so I did it myself. The set is really cool. All of the pieces were pre-cut, so I colored them using different pencils than the ones that came with the set so that our calendar would have more color.
Then I put them on a small tray,

and baked them for about three minutes in the toaster oven on 350 degrees.

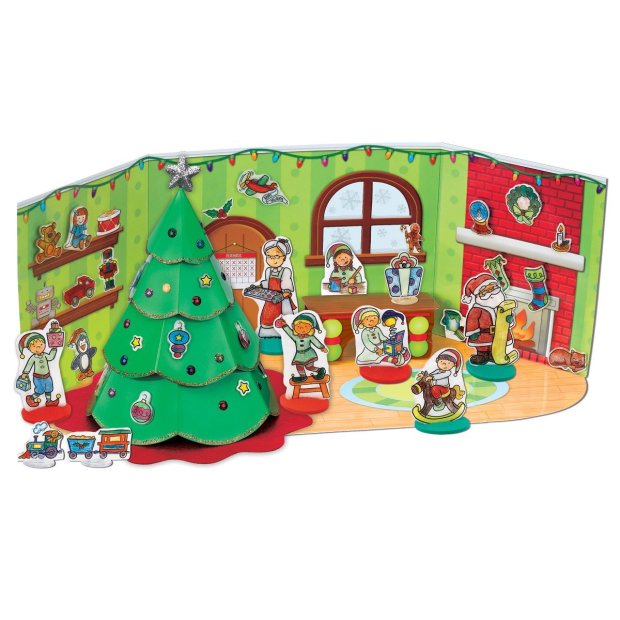
As we take them out of the calendar, we will be able to add them to the little pop-up paper scene from Santa’s workshop that came with the set!
 After they had all been baked and shrunk, I put them into the muffin tins.

Then, using double-stick tape, I affixed the colored muffin cups to the front of the tray. If you use this method, work from the 24th backward since their edges will overlap.

Some of them didn’t stick as well as I would have liked, so I decorated the tray with a few foam stickers. Yeah, it’s busy, but the kids will love it. I also used double-stick tape to put the ribbon around, so it looks less like a muffin tin.

Let the holiday season begin!

Pingback: Pinheads Revisited – The DIY Christmas Countdown (Advent) Calendar « Practice What You Pinterest