DIY Holiday Pinecone Wreath
Well, it’s time to get my holiday on. Every year, I do the traditional evergreen wreath, but this year, I found a super cute pinecone wreath on the boards. The photo on Pinterest looks like this:

Photo Courtesy of Better Homes and Gardens
The original link used a store-bought pinecone wreath, but as I am a glutton for punishment, I decided to try to make my own.
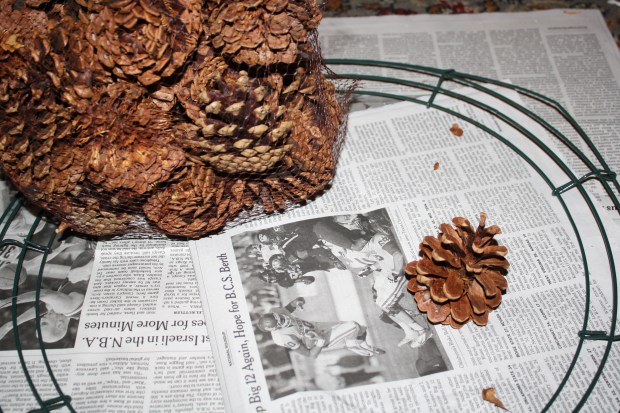
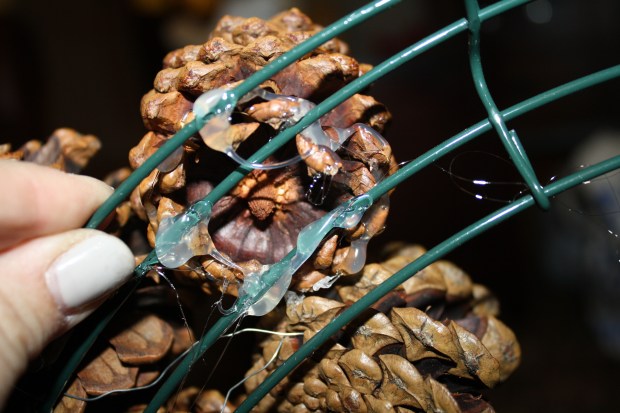
In hindsight, it might have worked out better if I had used something other than a wire wreath, but for the idea that I had in my mind, a wire wreath seemed ideal. My plan was to use floral wire to attach the pinecones to the wreath.
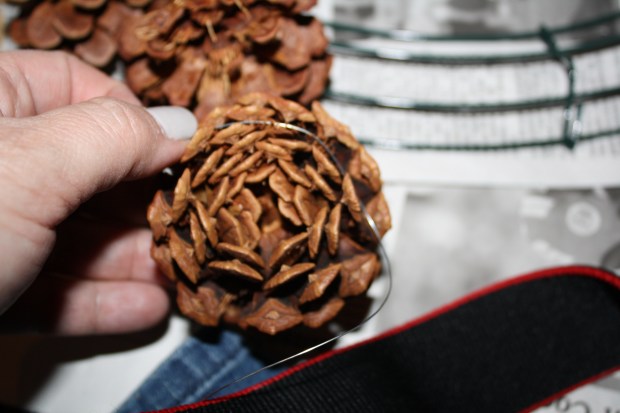
This turned out to be a painstaking process. It took forever, plus when I say painstaking, I mean that I literally impaled my fingers multiple times with the wire. It wasn’t one of those projects that I wanted to be immersed in. I kept walking away and leaving it for tomorrow. Plus, I wasn’t happy with the way the pinecones were coming together. They seemed too loose, which I figured would fix itself as the pinecones became tightly packed on the wreath, but it was taking too long to get there.
So I did what any crafty Cathy would do when confronted with an attachment problem: I pulled out the glue gun, piping hot glue onto the bottoms of the pinecones.
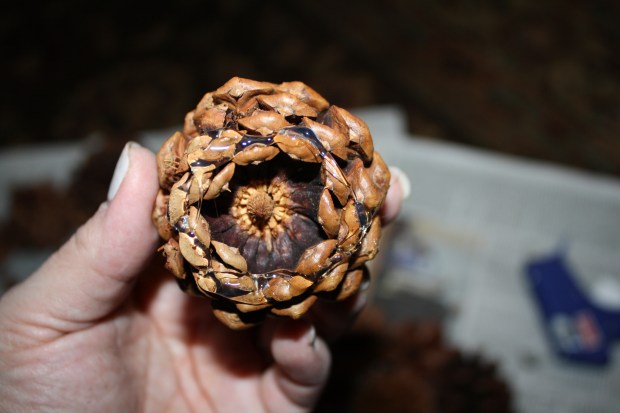
This process worked much more efficiently. Once the pinecones had dried, I secured them on the back of the wreath just to make sure they wouldn’t go anywhere.
Yes, it looks messy, but nobody’s seeing the back.
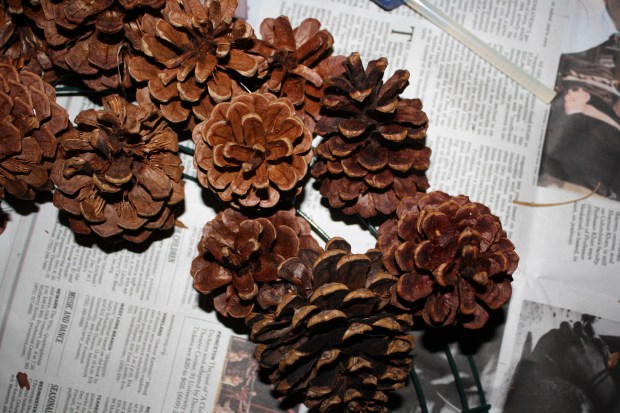
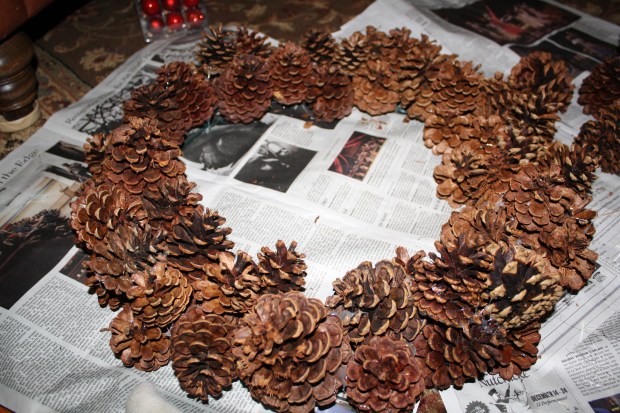
I also used the glue to affix the pinecones to their neighbors, and to add smaller pinecones on top where there were visible gaps. In all, I used about three bags of pinecones, i.e., I purchased three bags of pinecones, and used the best assortment to cover the 14-inch wreath.

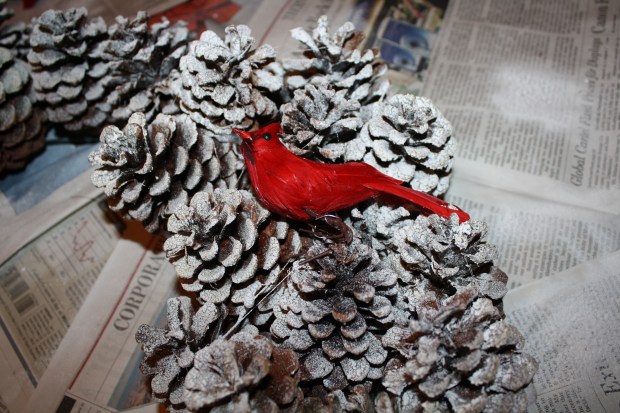
Once the entire wreath was covered with pinecones, it was ready to be painted with snow spray.
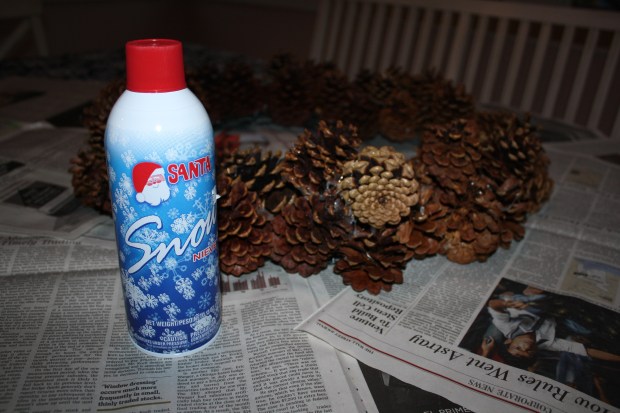
I gave the wreath a light coat of spray, and then allowed it to dry completely.
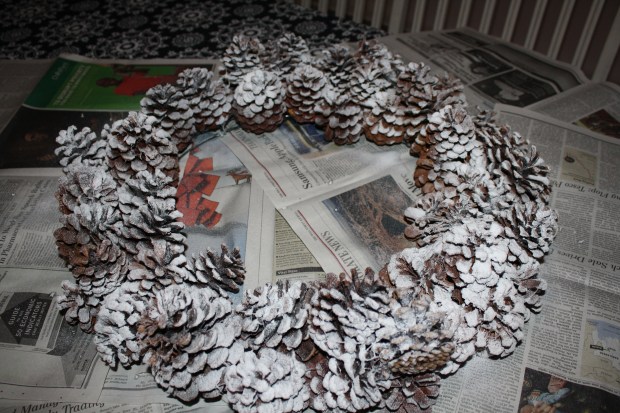
Then it was ready for the cardinals.
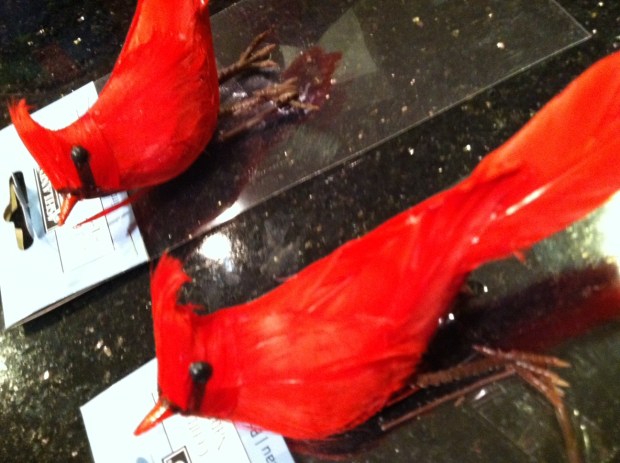
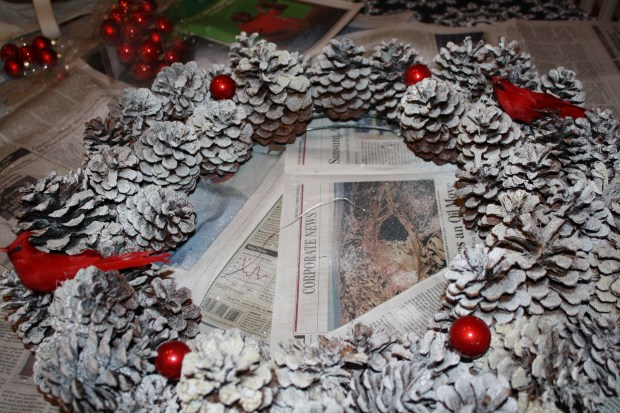
I had thought I would put four cardinals on my wreath, but in the end, I decided that two would suffice. Less is more, know what I’m saying?
Next, the wreath was ready for the ornaments. These were kind of tricky. I ran the floral wire through the loop and then down through the pinecones to the back of the wreath.

Had to be careful not to pull too tightly though, because the tops of the ornaments came off very easily, and once they were off, they were a bear to get back on, expecially if they had already gone into the wreath. Had I known this going in, I probably would have secured those beforehand with hot glue, but by the time I got to this step, I just wanted to get it all over with.
So then it was ready to be hung on the door. The great thing is that it’s not just a holiday wreath. This sucker can stay on the door all winter.
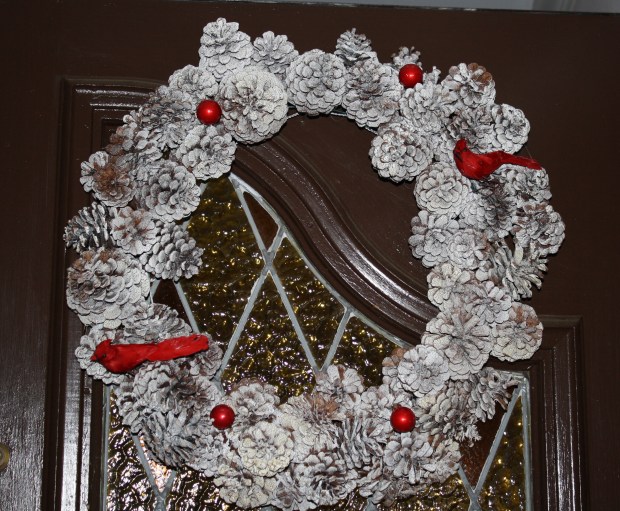
Even though it took a long time to put together, I am really happy with the way it looks. Just hope no lady cardinals come looking for love this winter. (I hate to see them disappointed.) 😉

That’s so pretty! I made a wreath from some junk my hubs grandma sent home with us, I think I will post my Christmas decor today, then share the link. 🙂 love your wreath!!
Pingback: Inspirațional: Coronițe de Crăciun – Revista Atelierul
Pingback: 30 Decorative DIYs to Make a Pine Cone Wreath | Guide Patterns