Frugal Friday – DIY Refills for Scented Oil Air Fresheners
Let’s face facts — sometimes some rooms in our houses don’t smell as nice as we’d like them to. One of the ways to deal with this is to get one of those air fresheners that plug into the wall. But they only last about a month, and the refills will run you about $3.00 each. So I decided to give a pin I found on the boards a little test. This one claimed that you could refill those little glass containers with water and essential oil, releasing a healthier version of fragrance into your home. The photo on Pinterest looks like this:
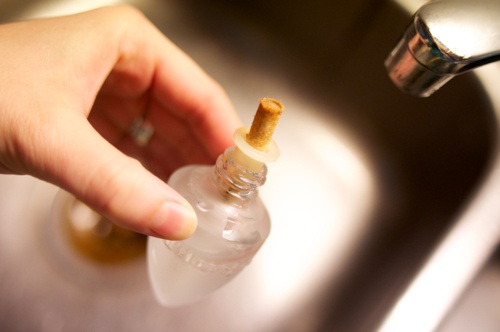
Photo courtesy of Holy Crickey
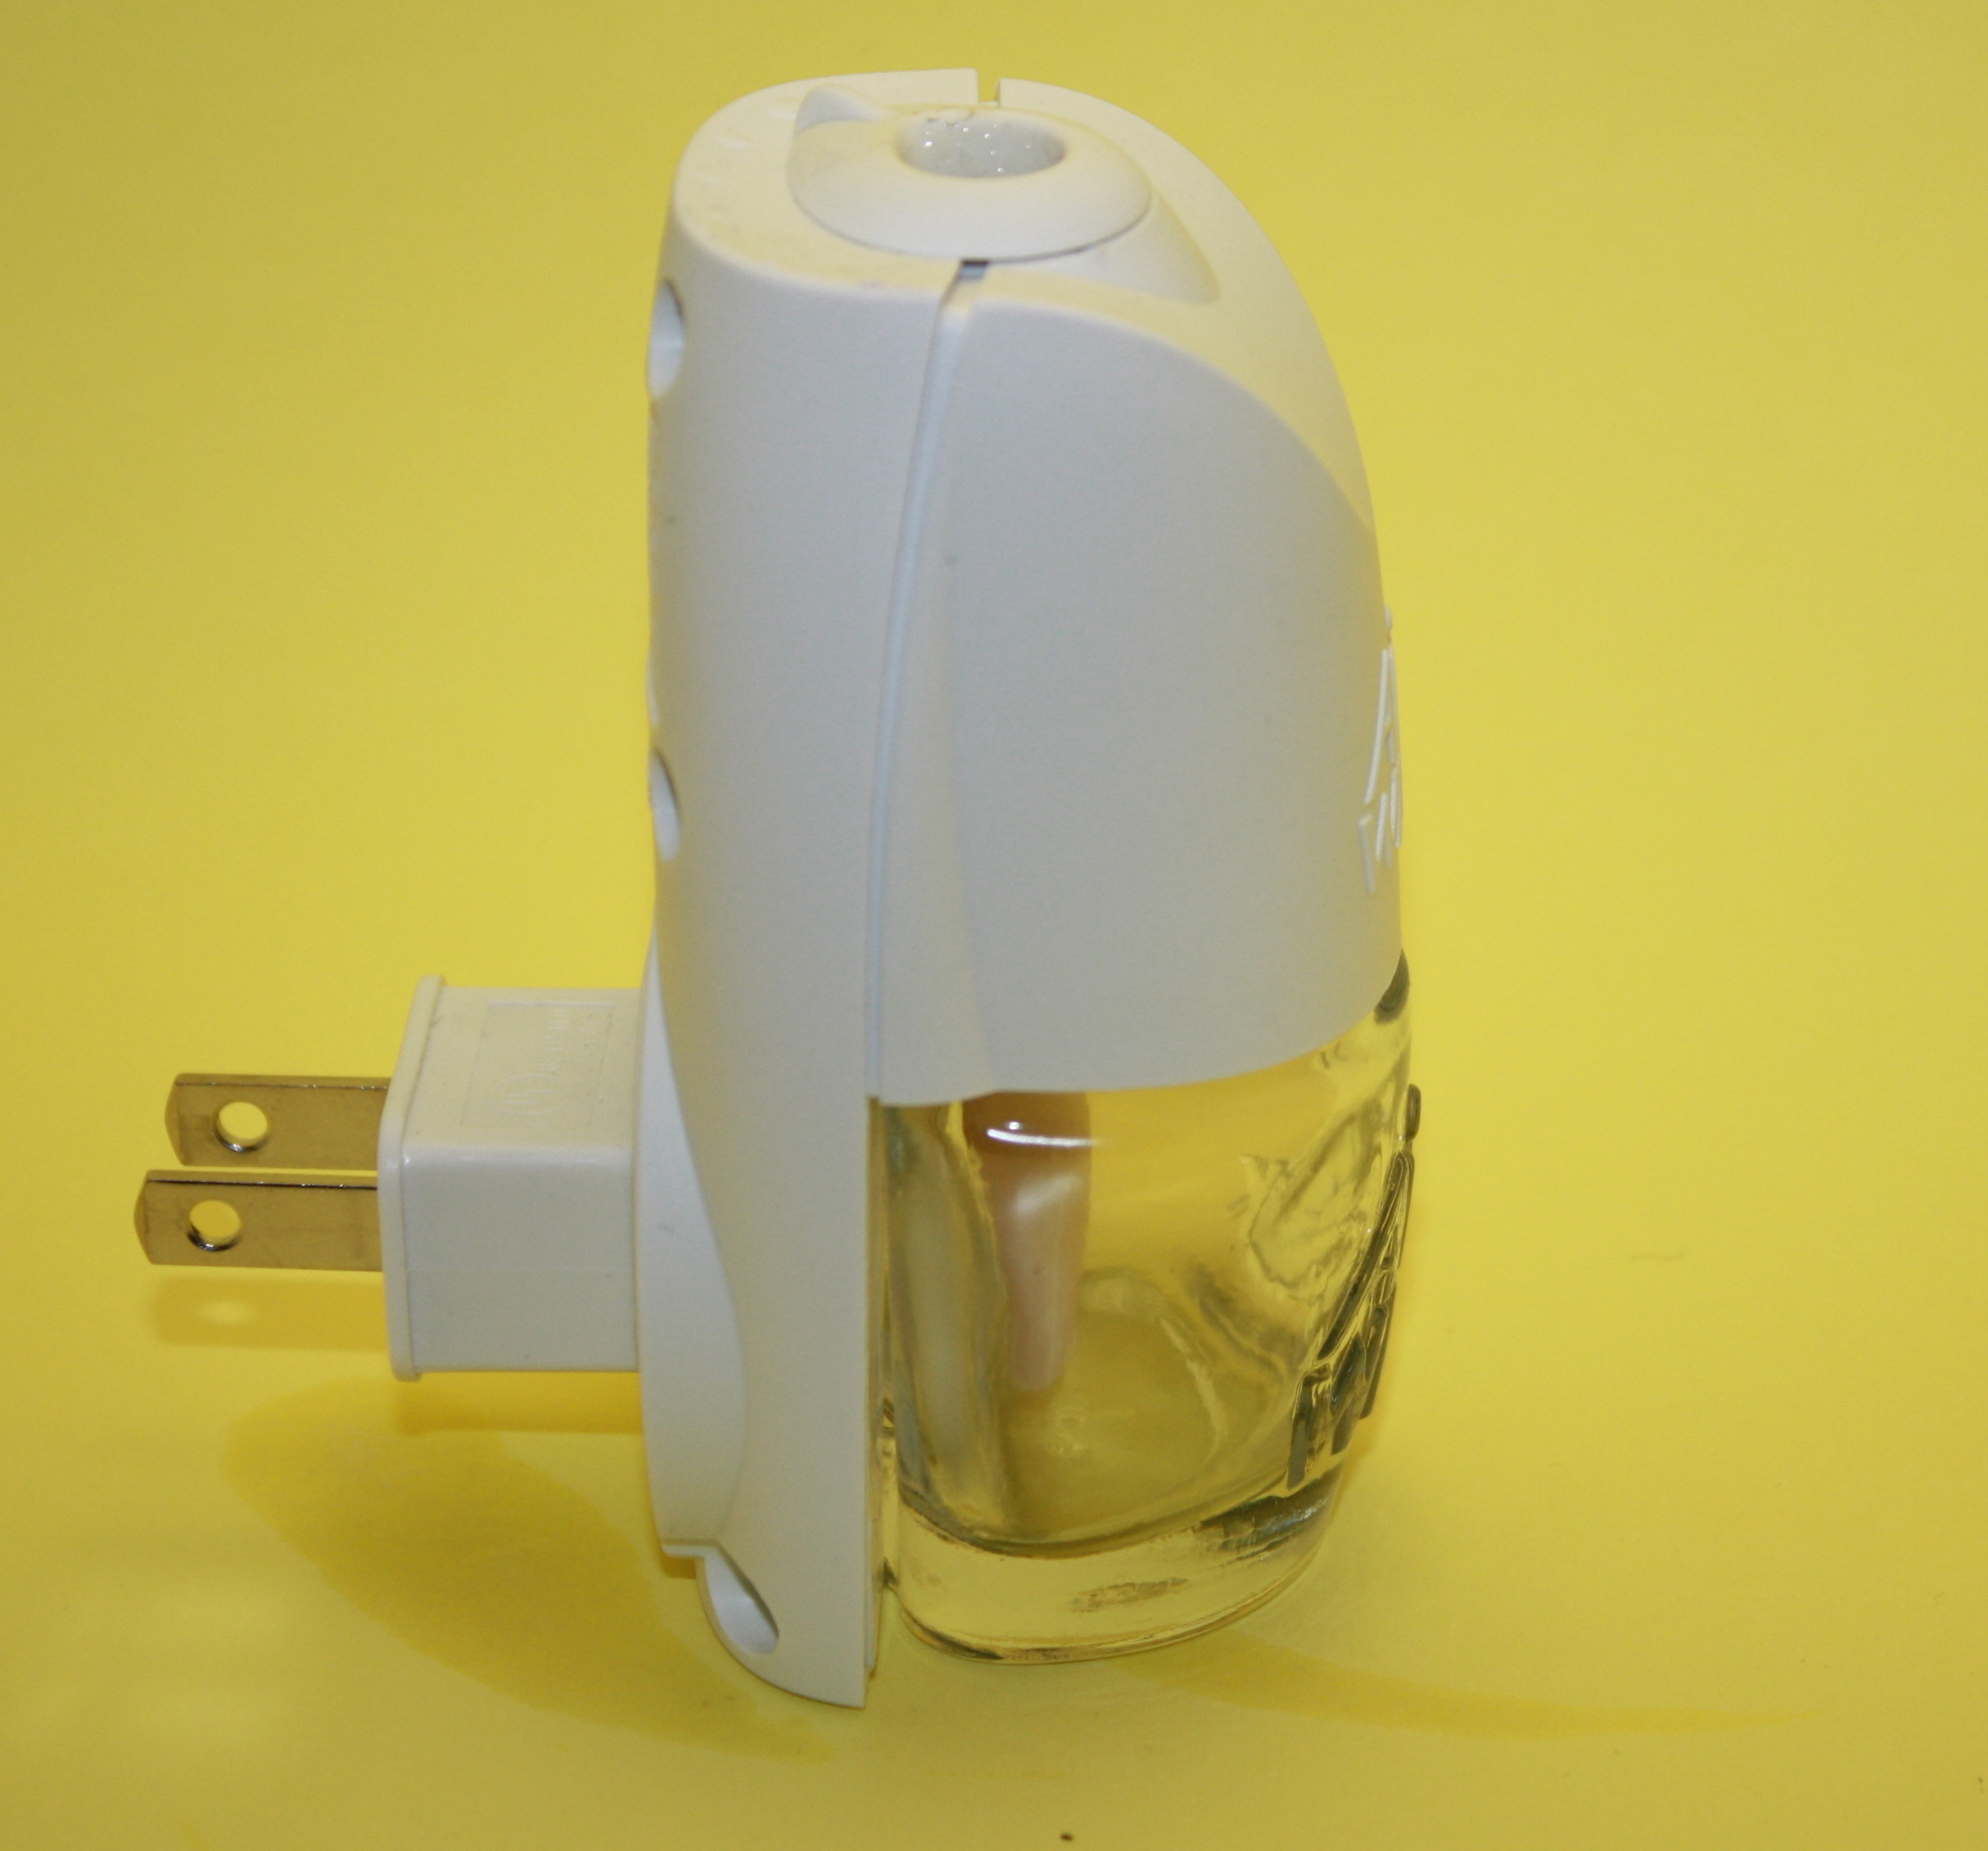
In order to really take this pin to task, I decided to try using it on one of the stinkiest parts of the house — the exercise room. Talk about a workout! There are days this place smells more like onions and b.o. than a busy sub shop in the summertime. Once the plug-in air freshener down there had exhausted, I took it apart.
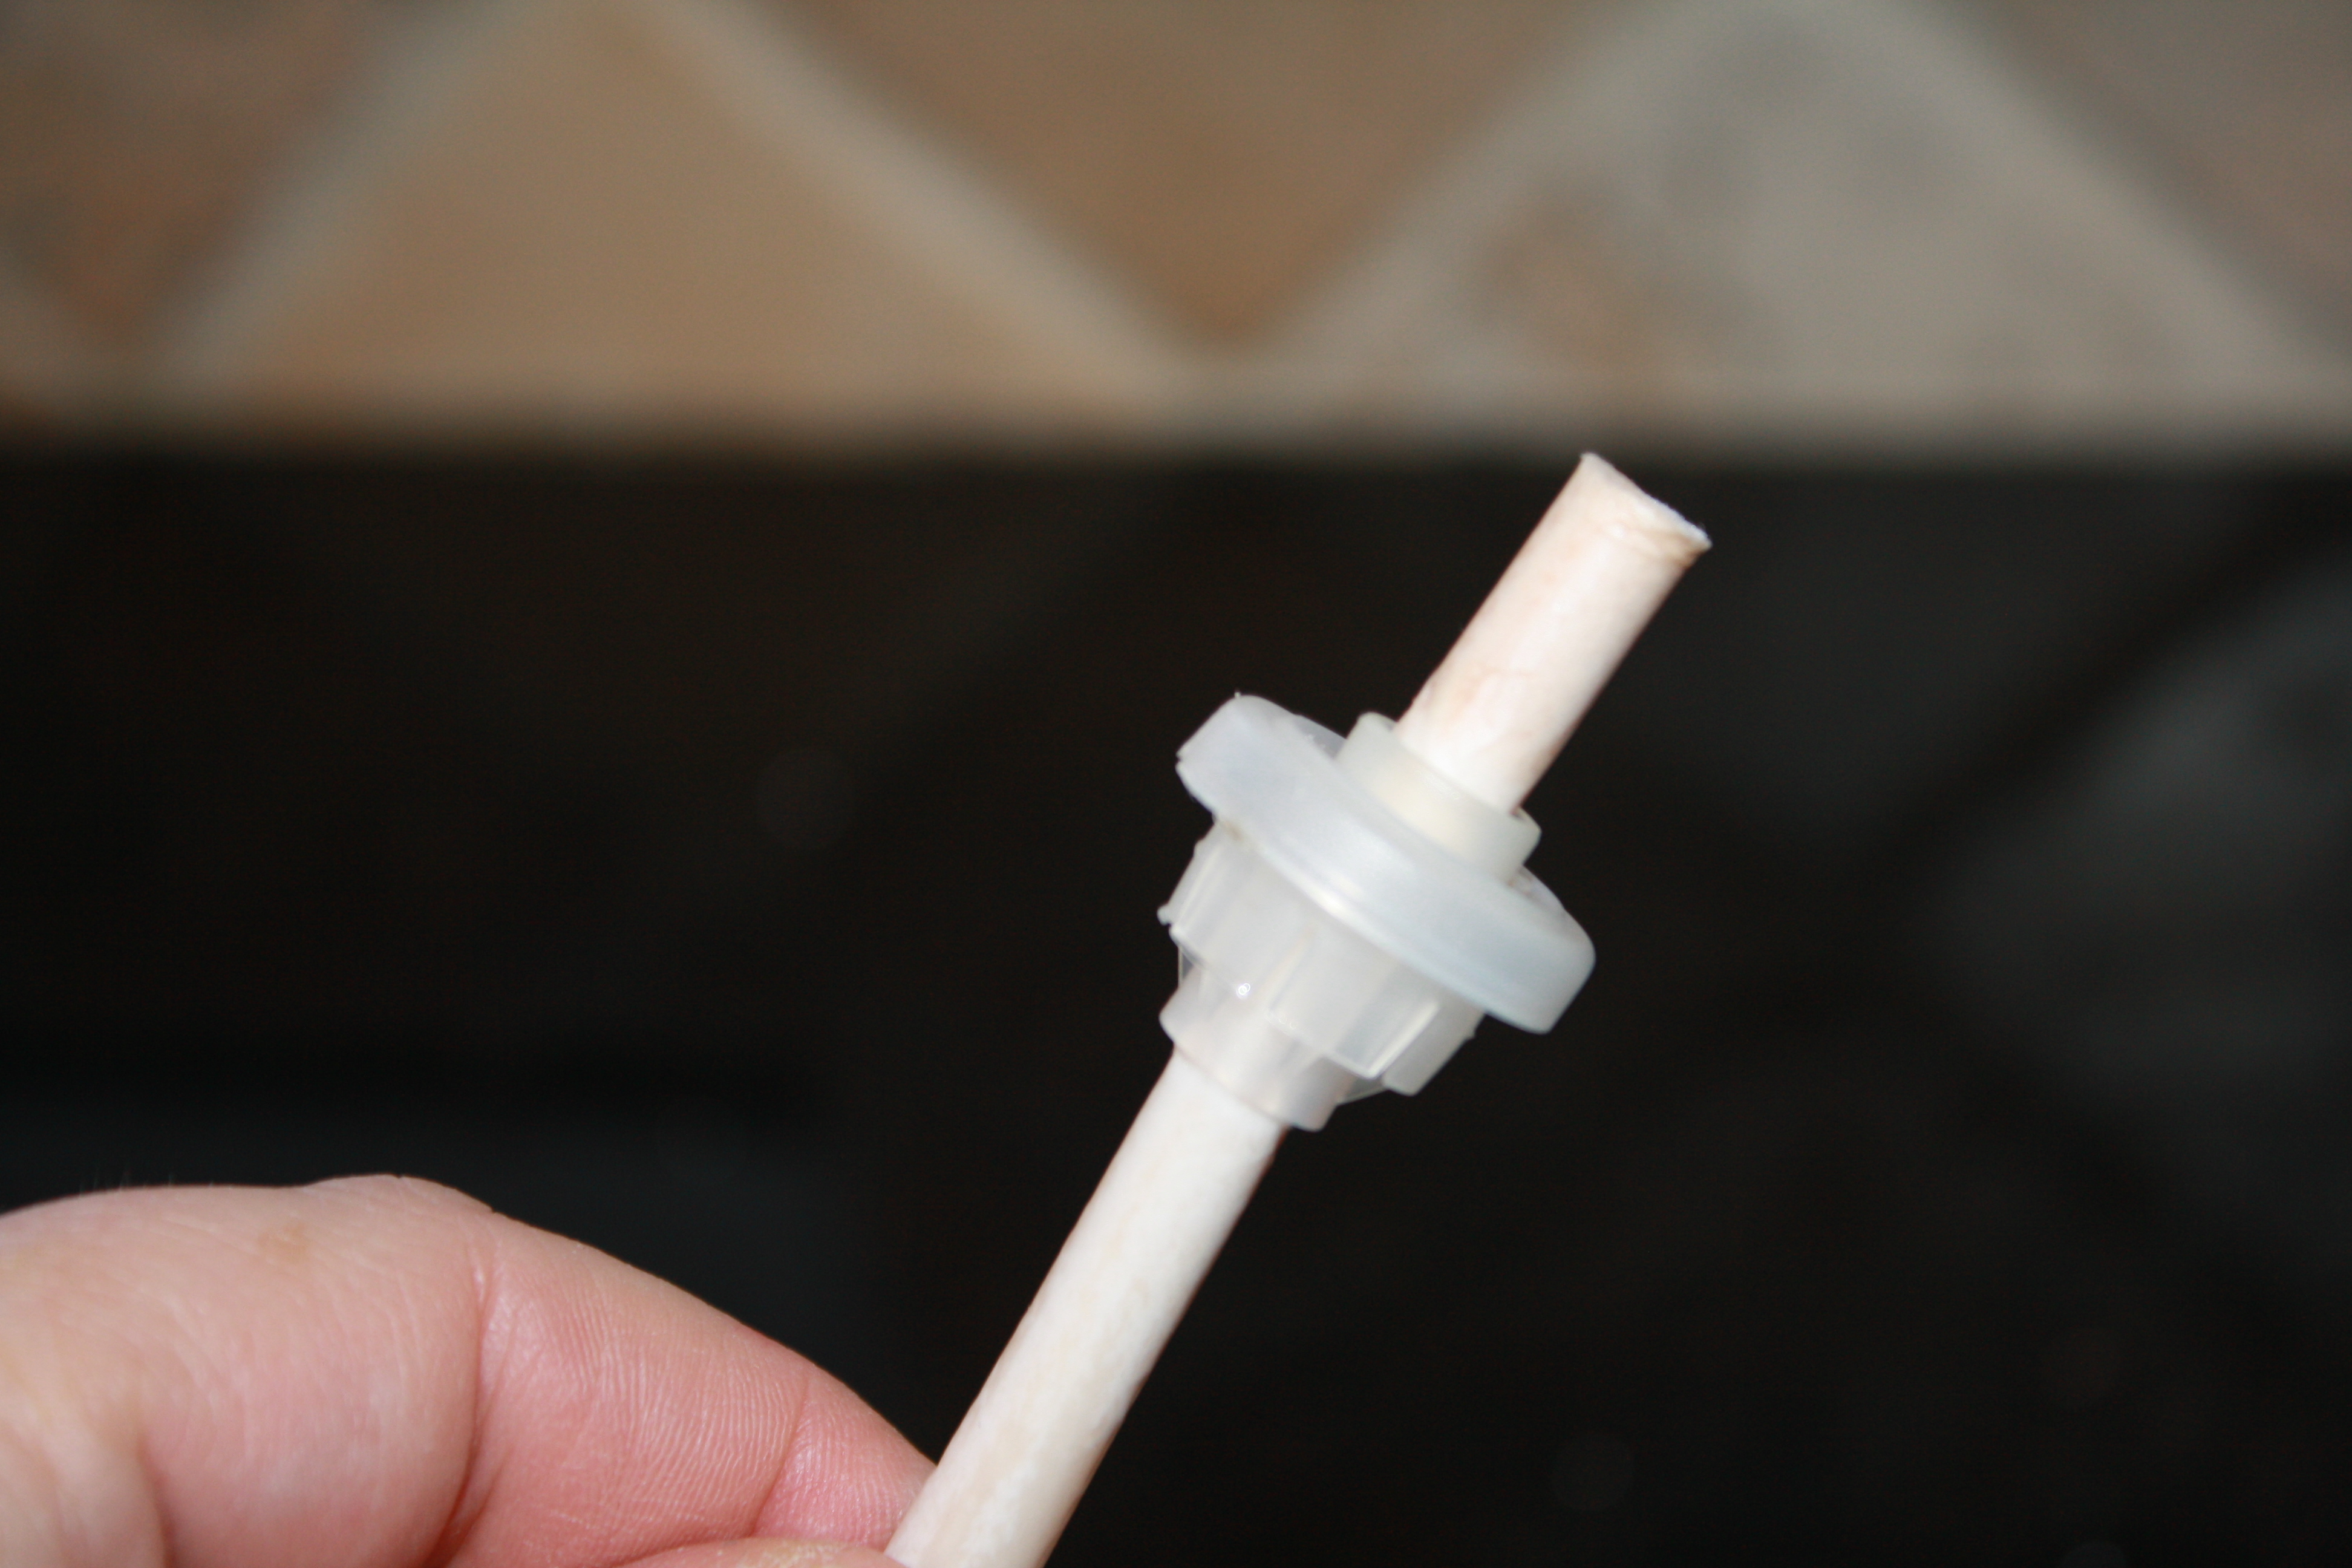
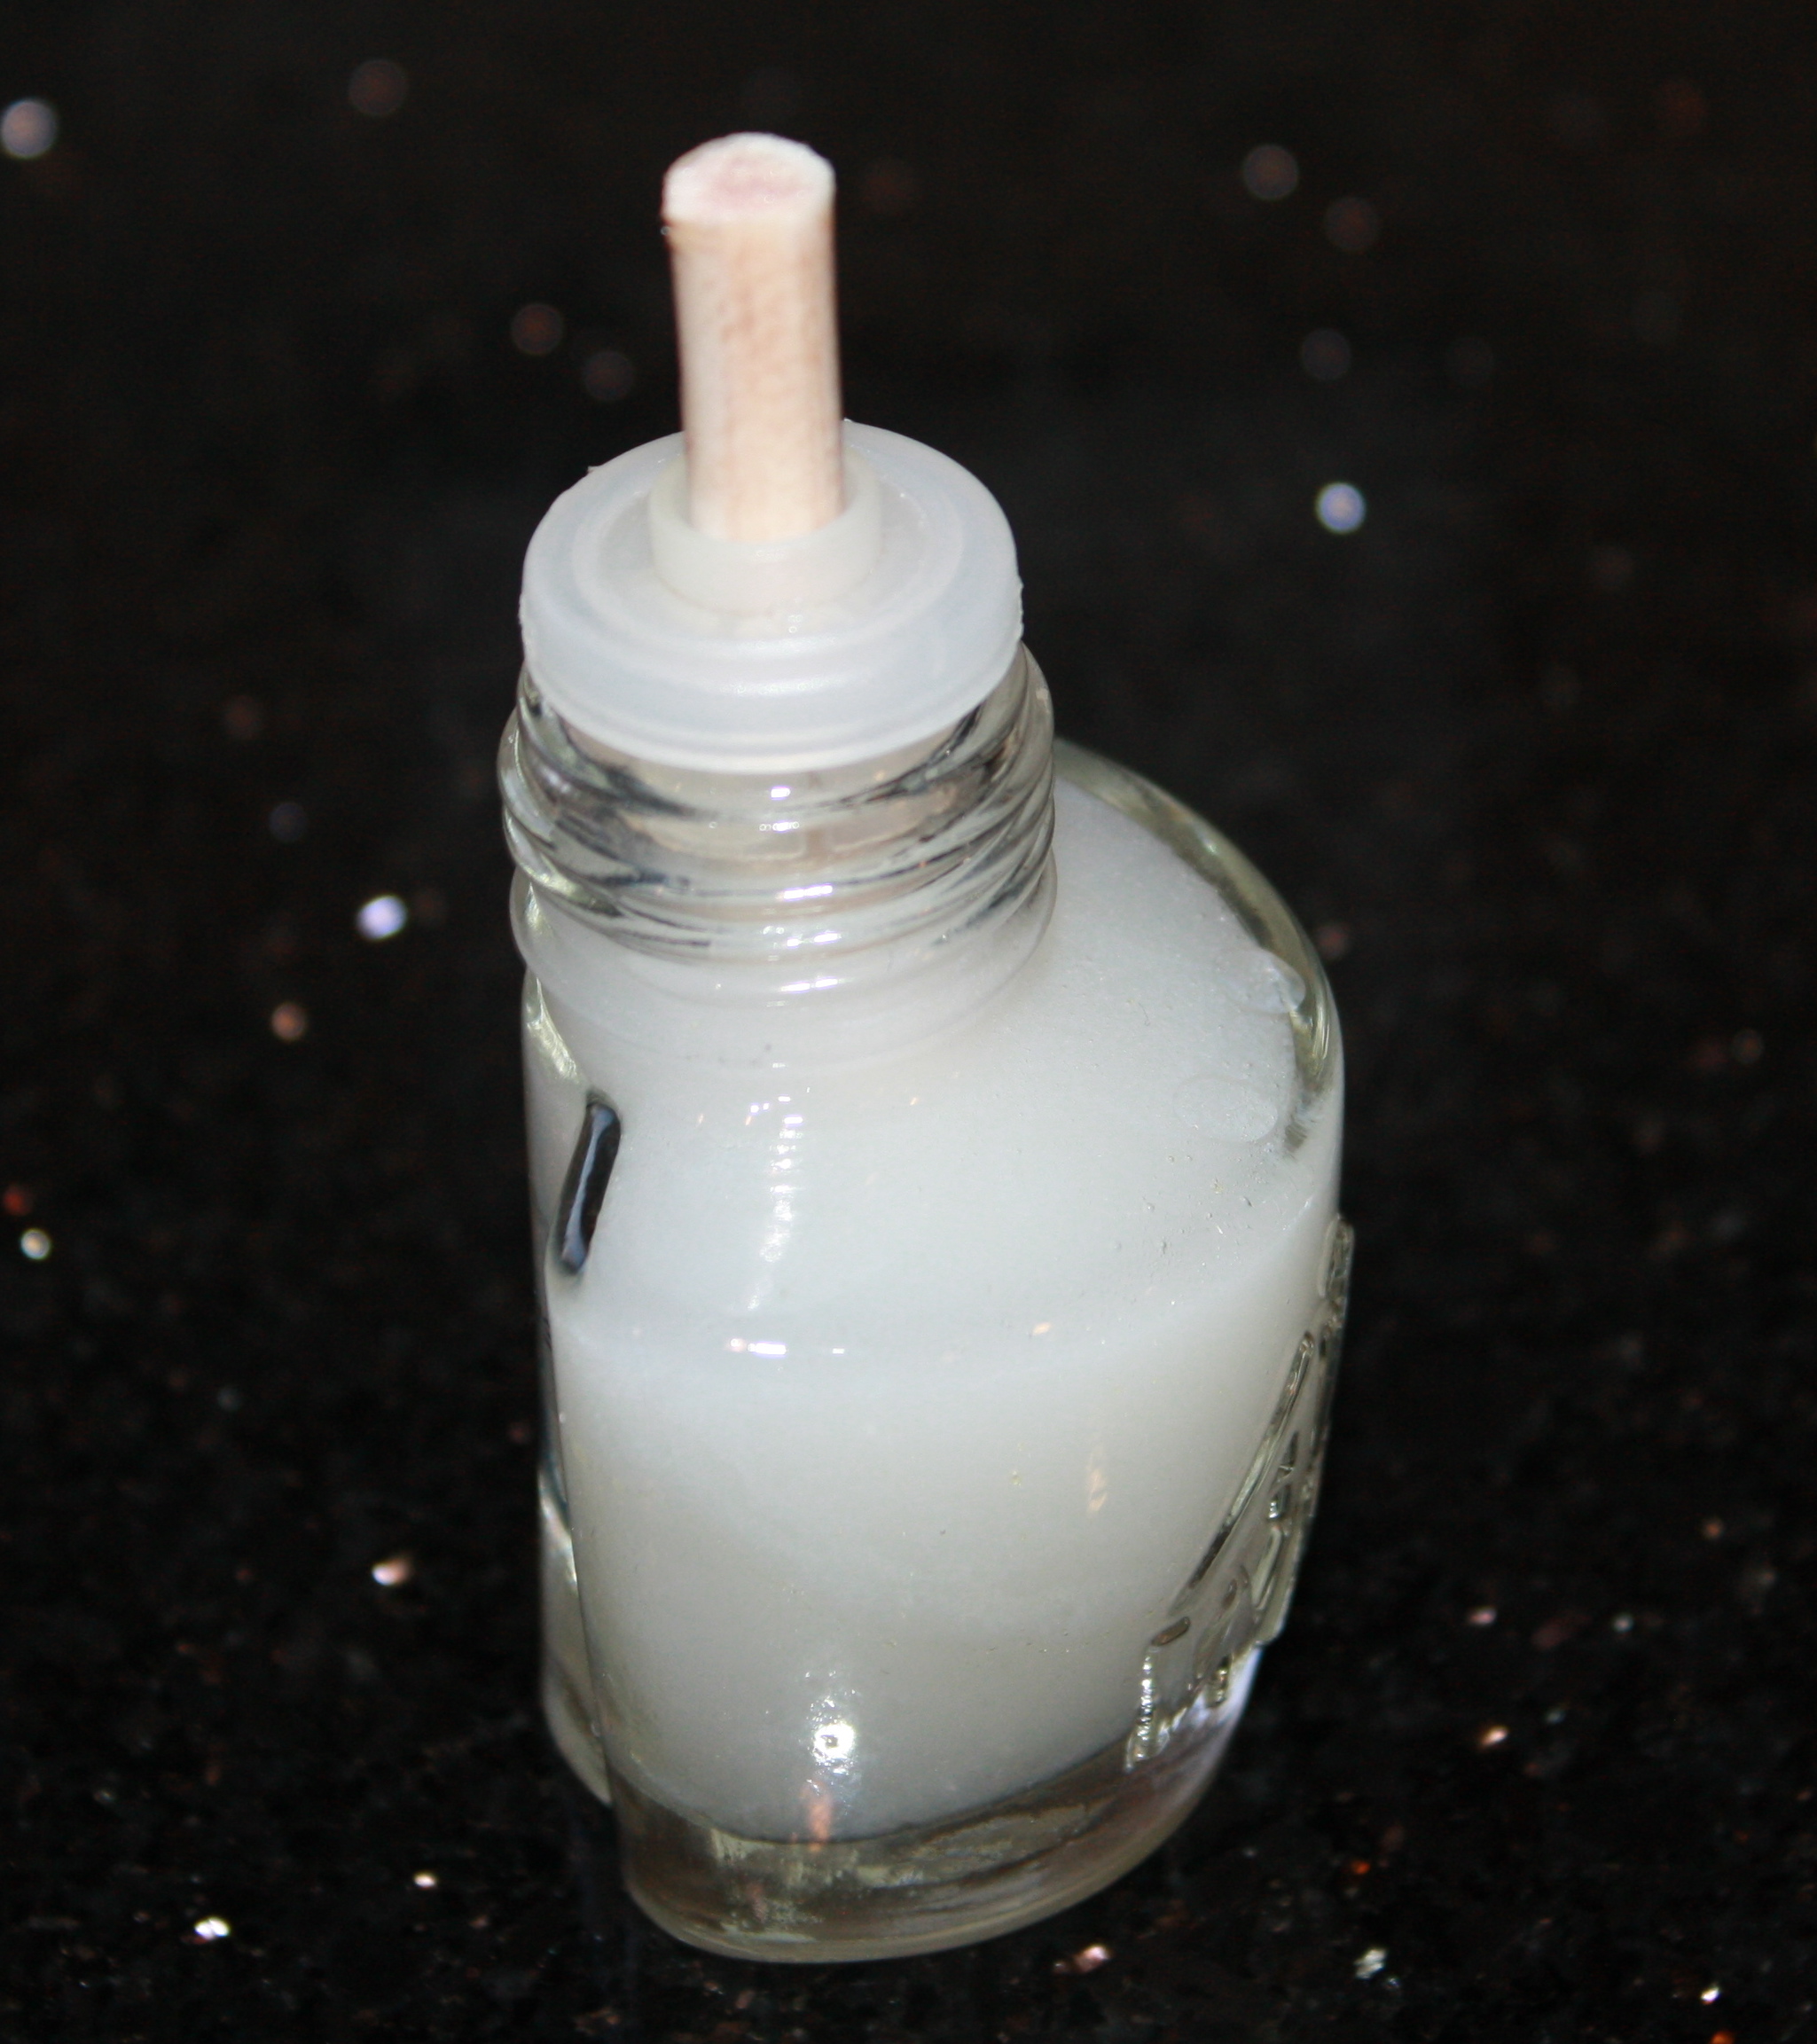
See the wick?
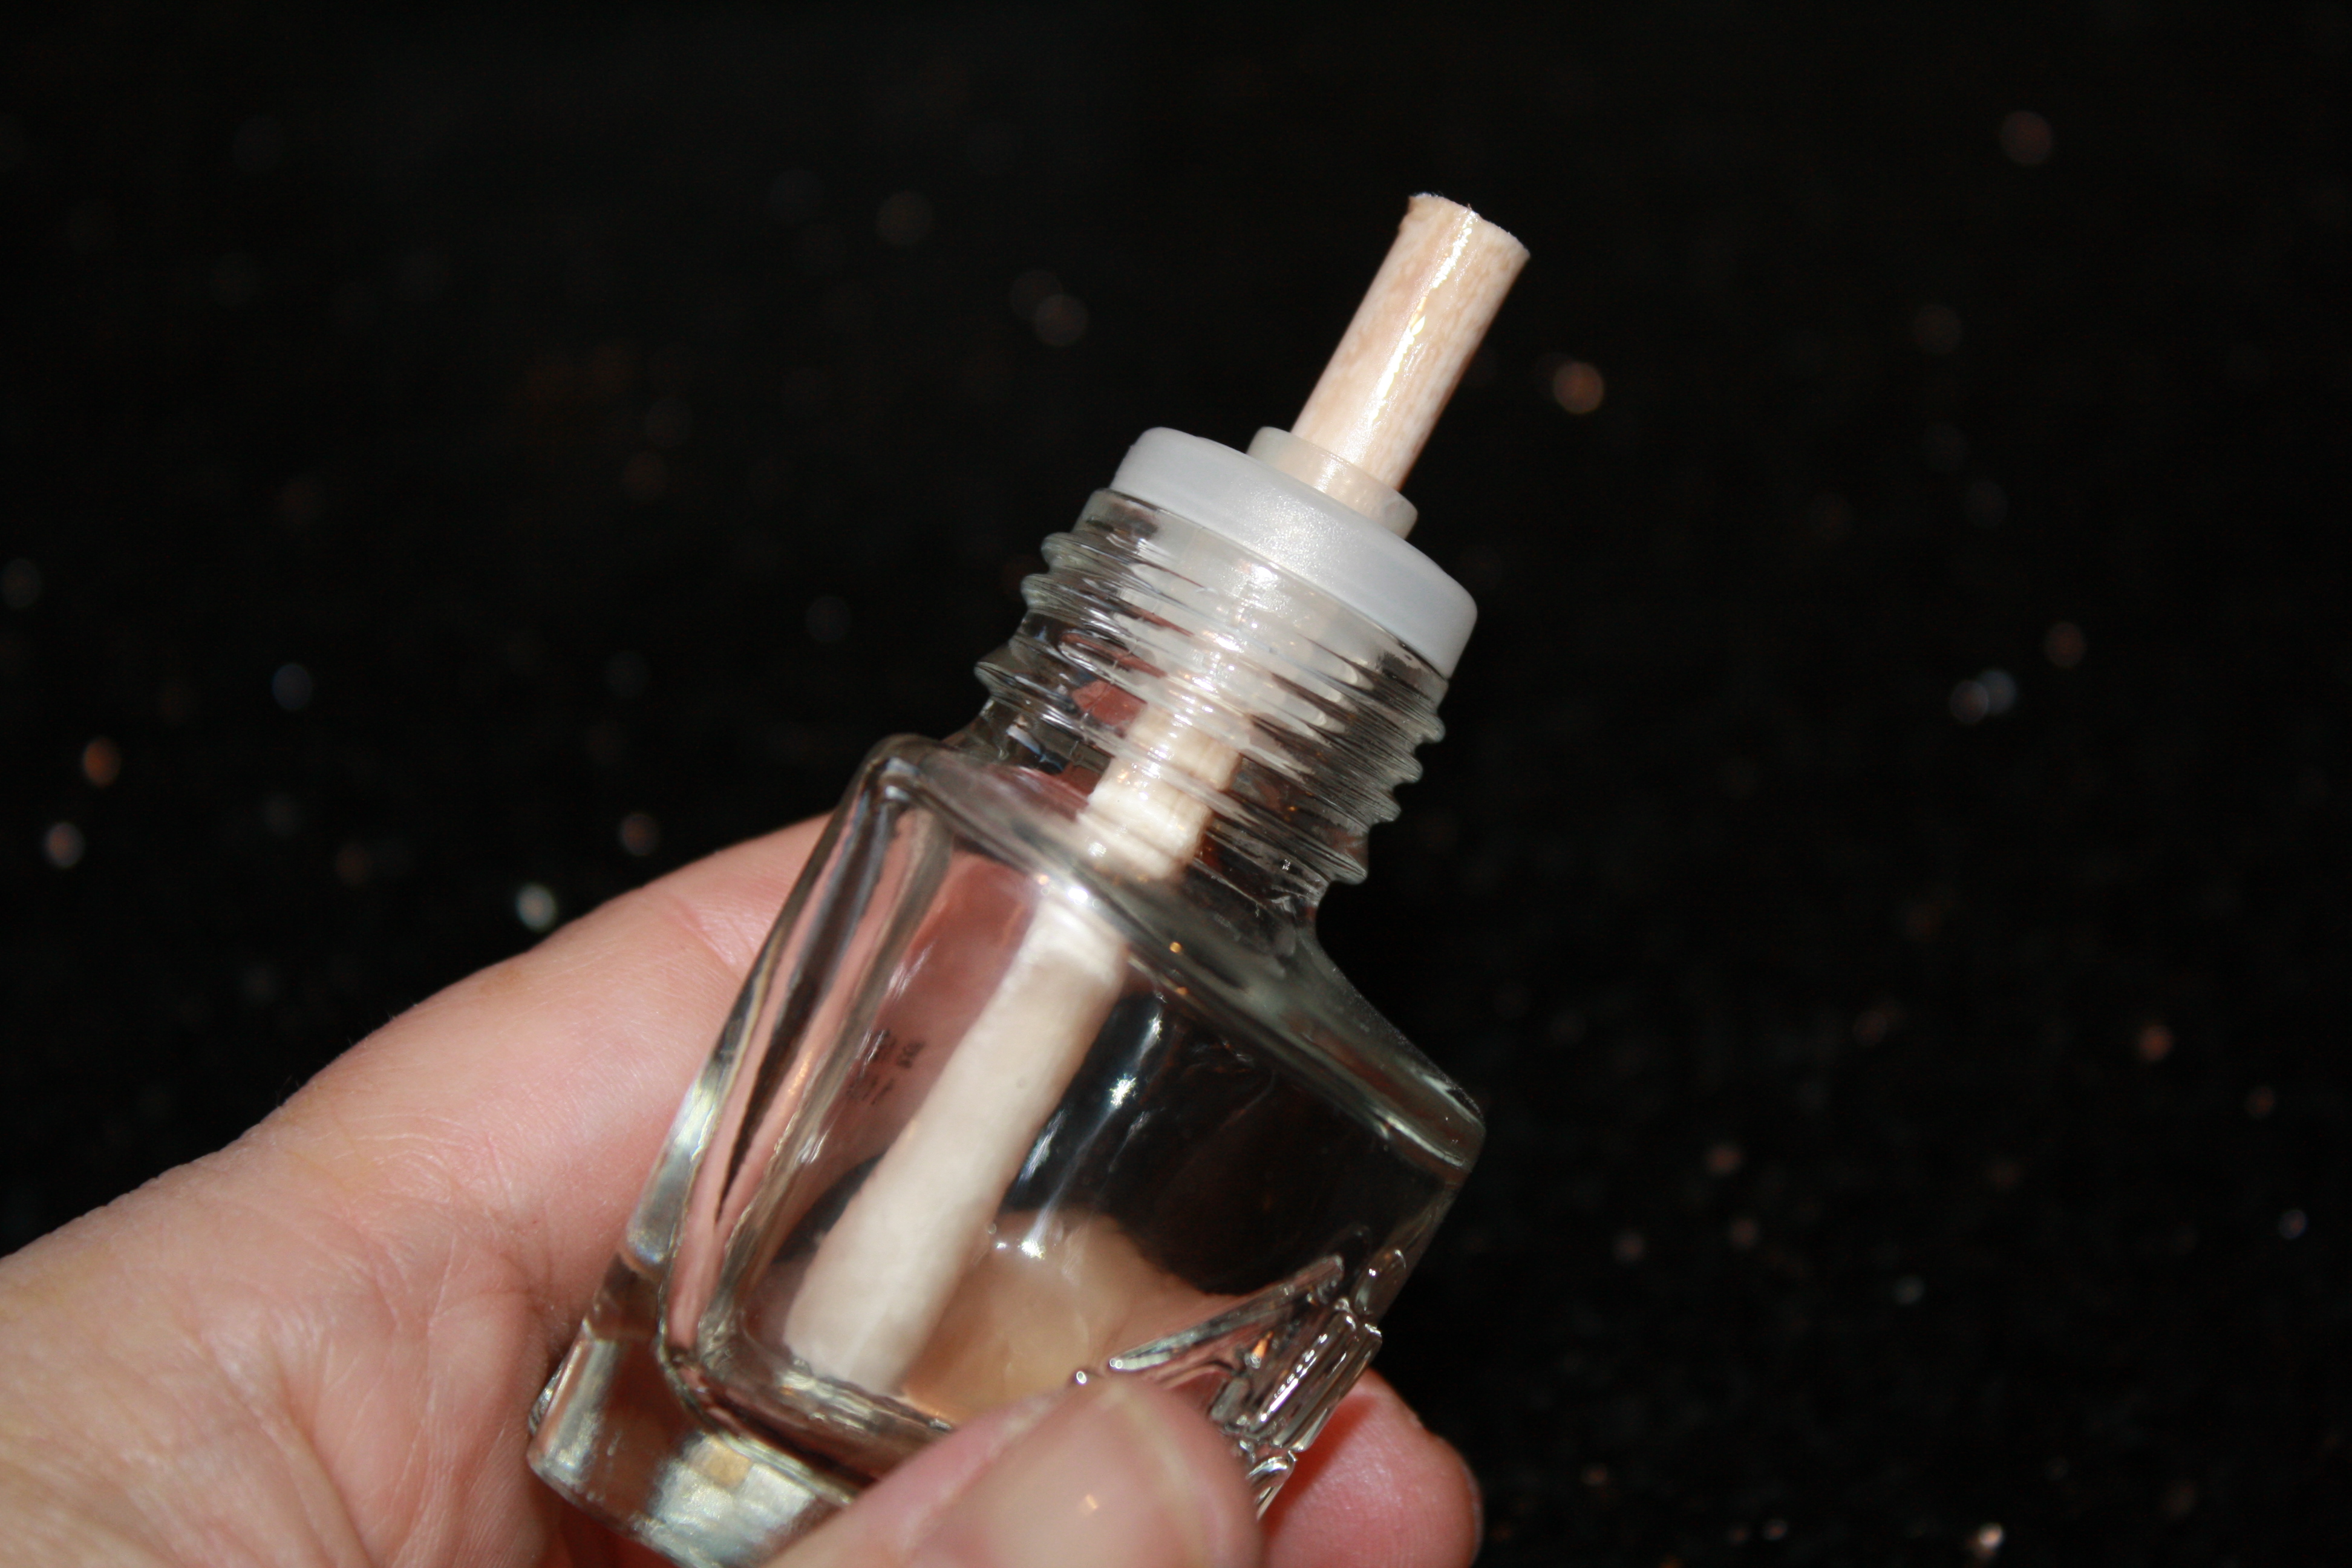
I took that out, which took a little bit of work. Basically I used the end of a tiny screwdriver to pull the plastic cap away from the glass, and it was a cinch from there.
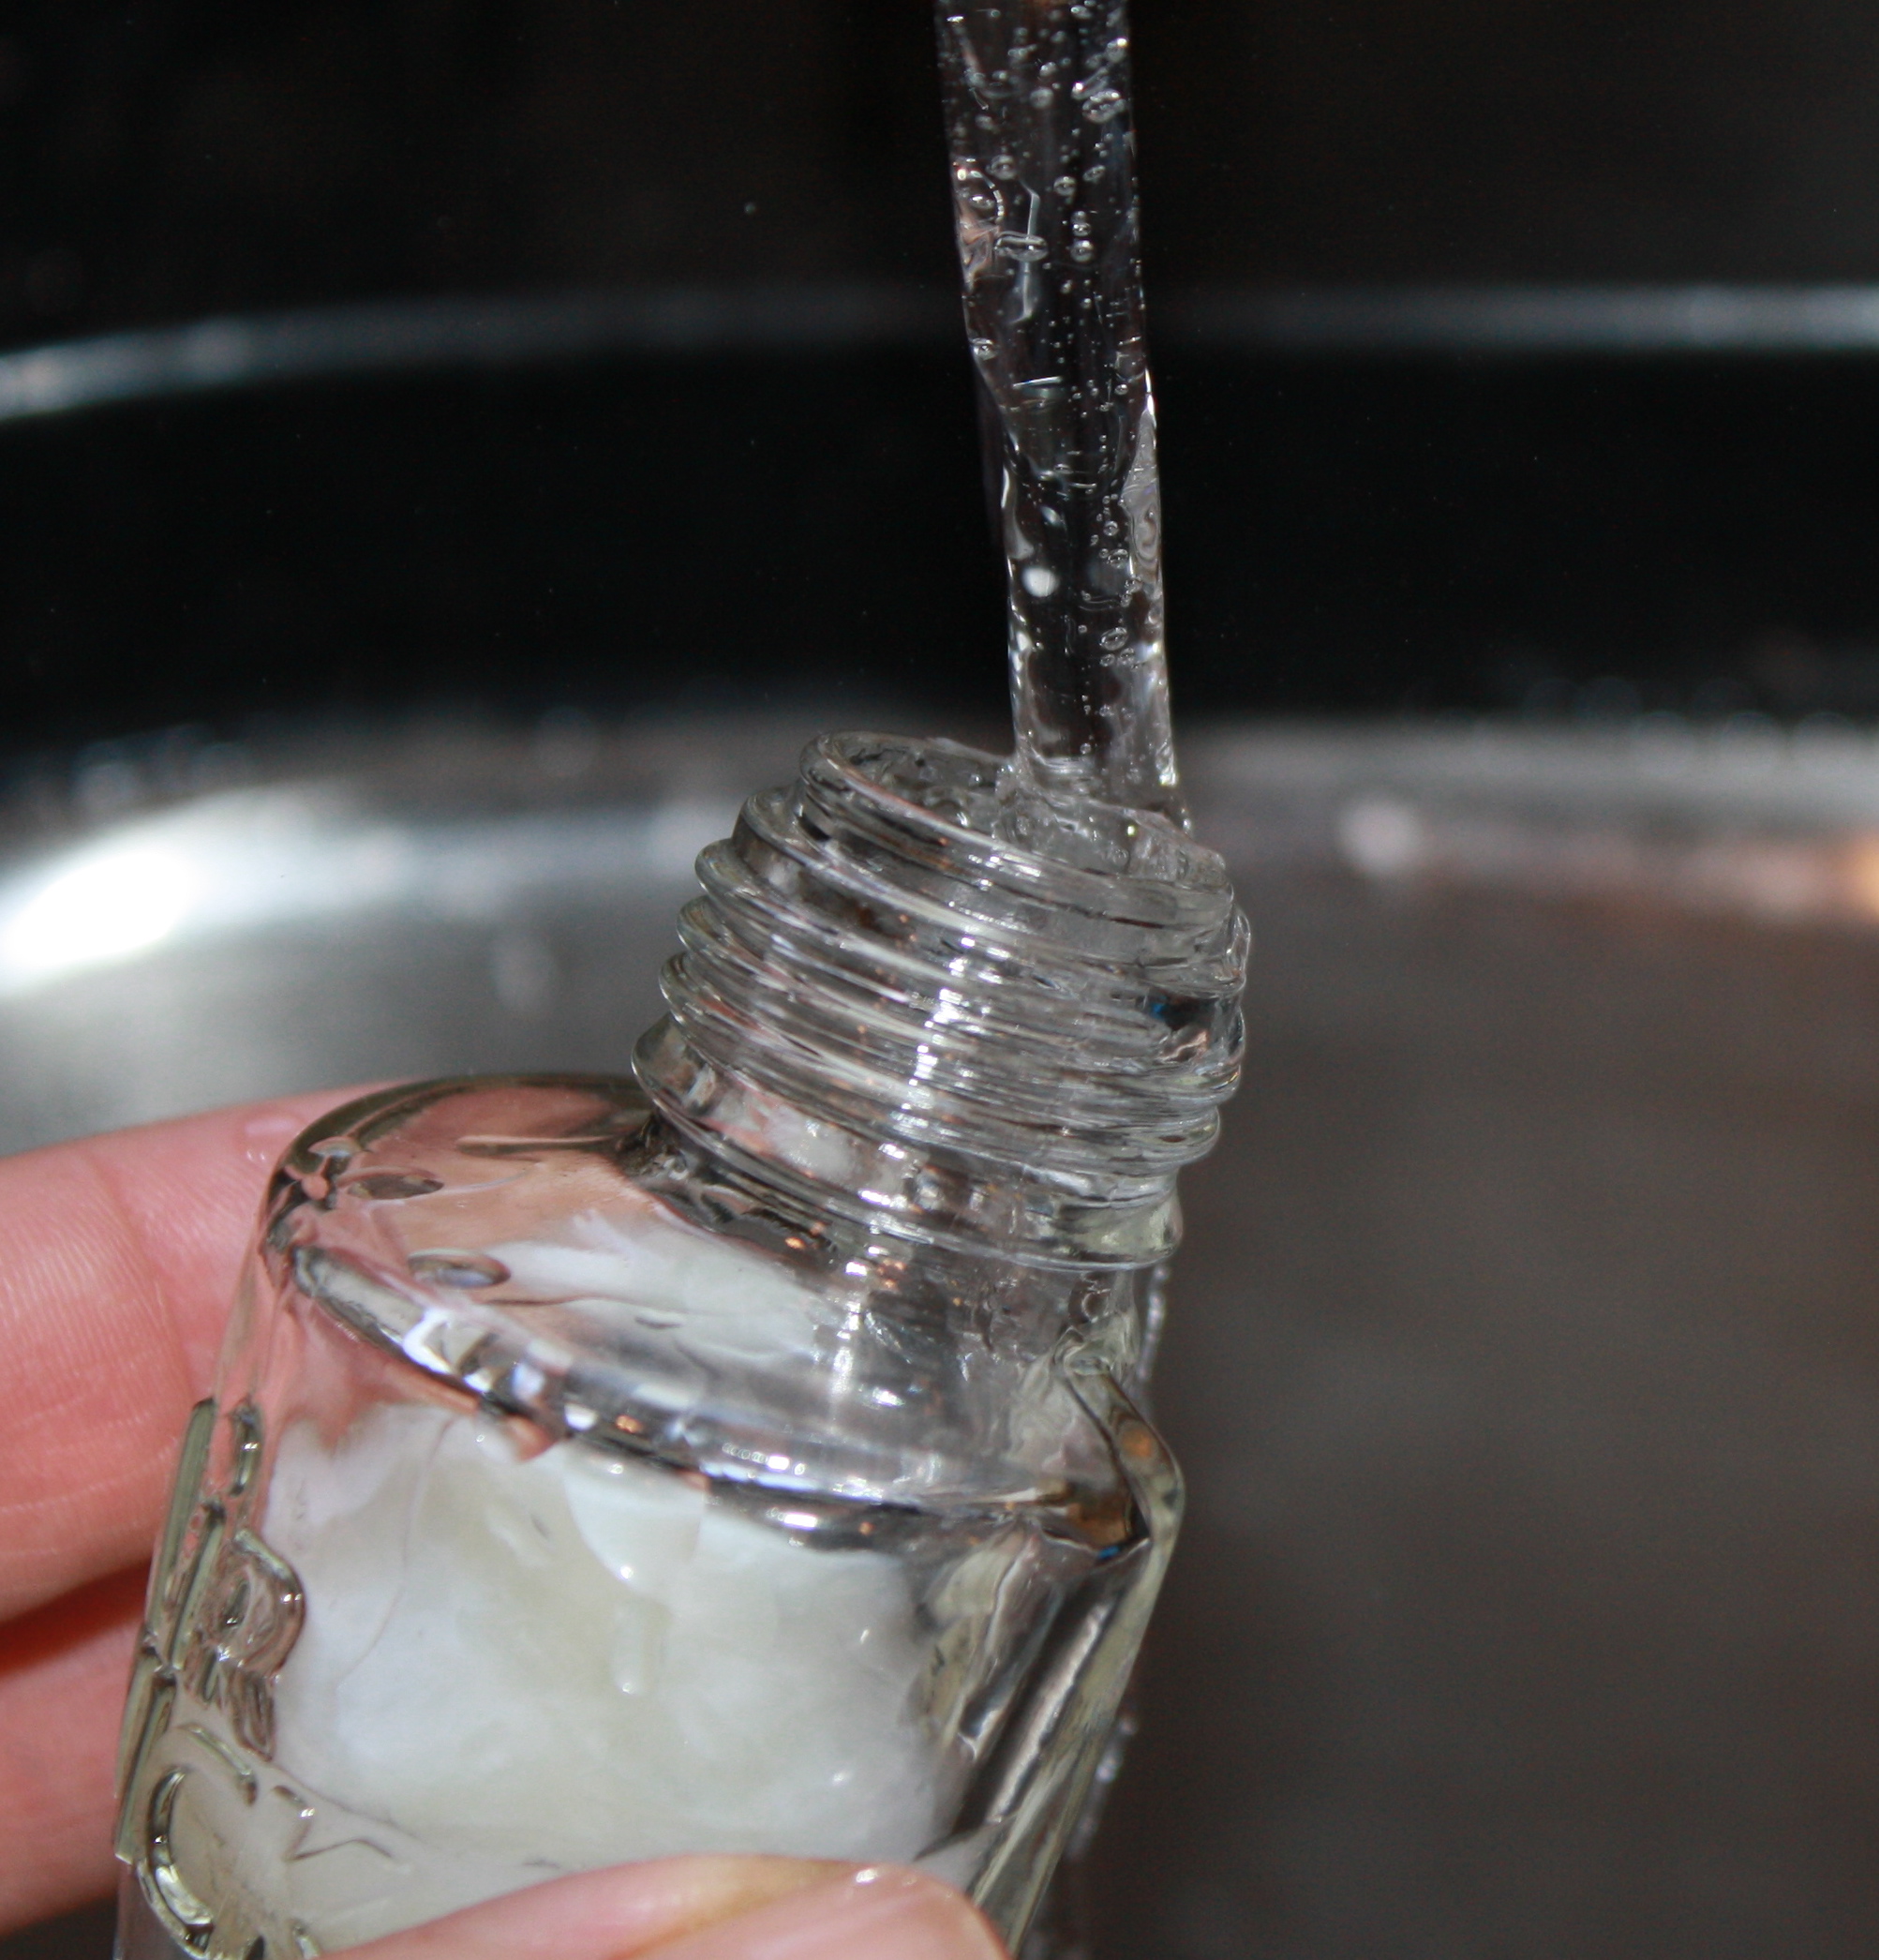
The bottle was then washed out and filled about 1/3 of the way with essential oil. (I used vanilla because that’s how I roll.)
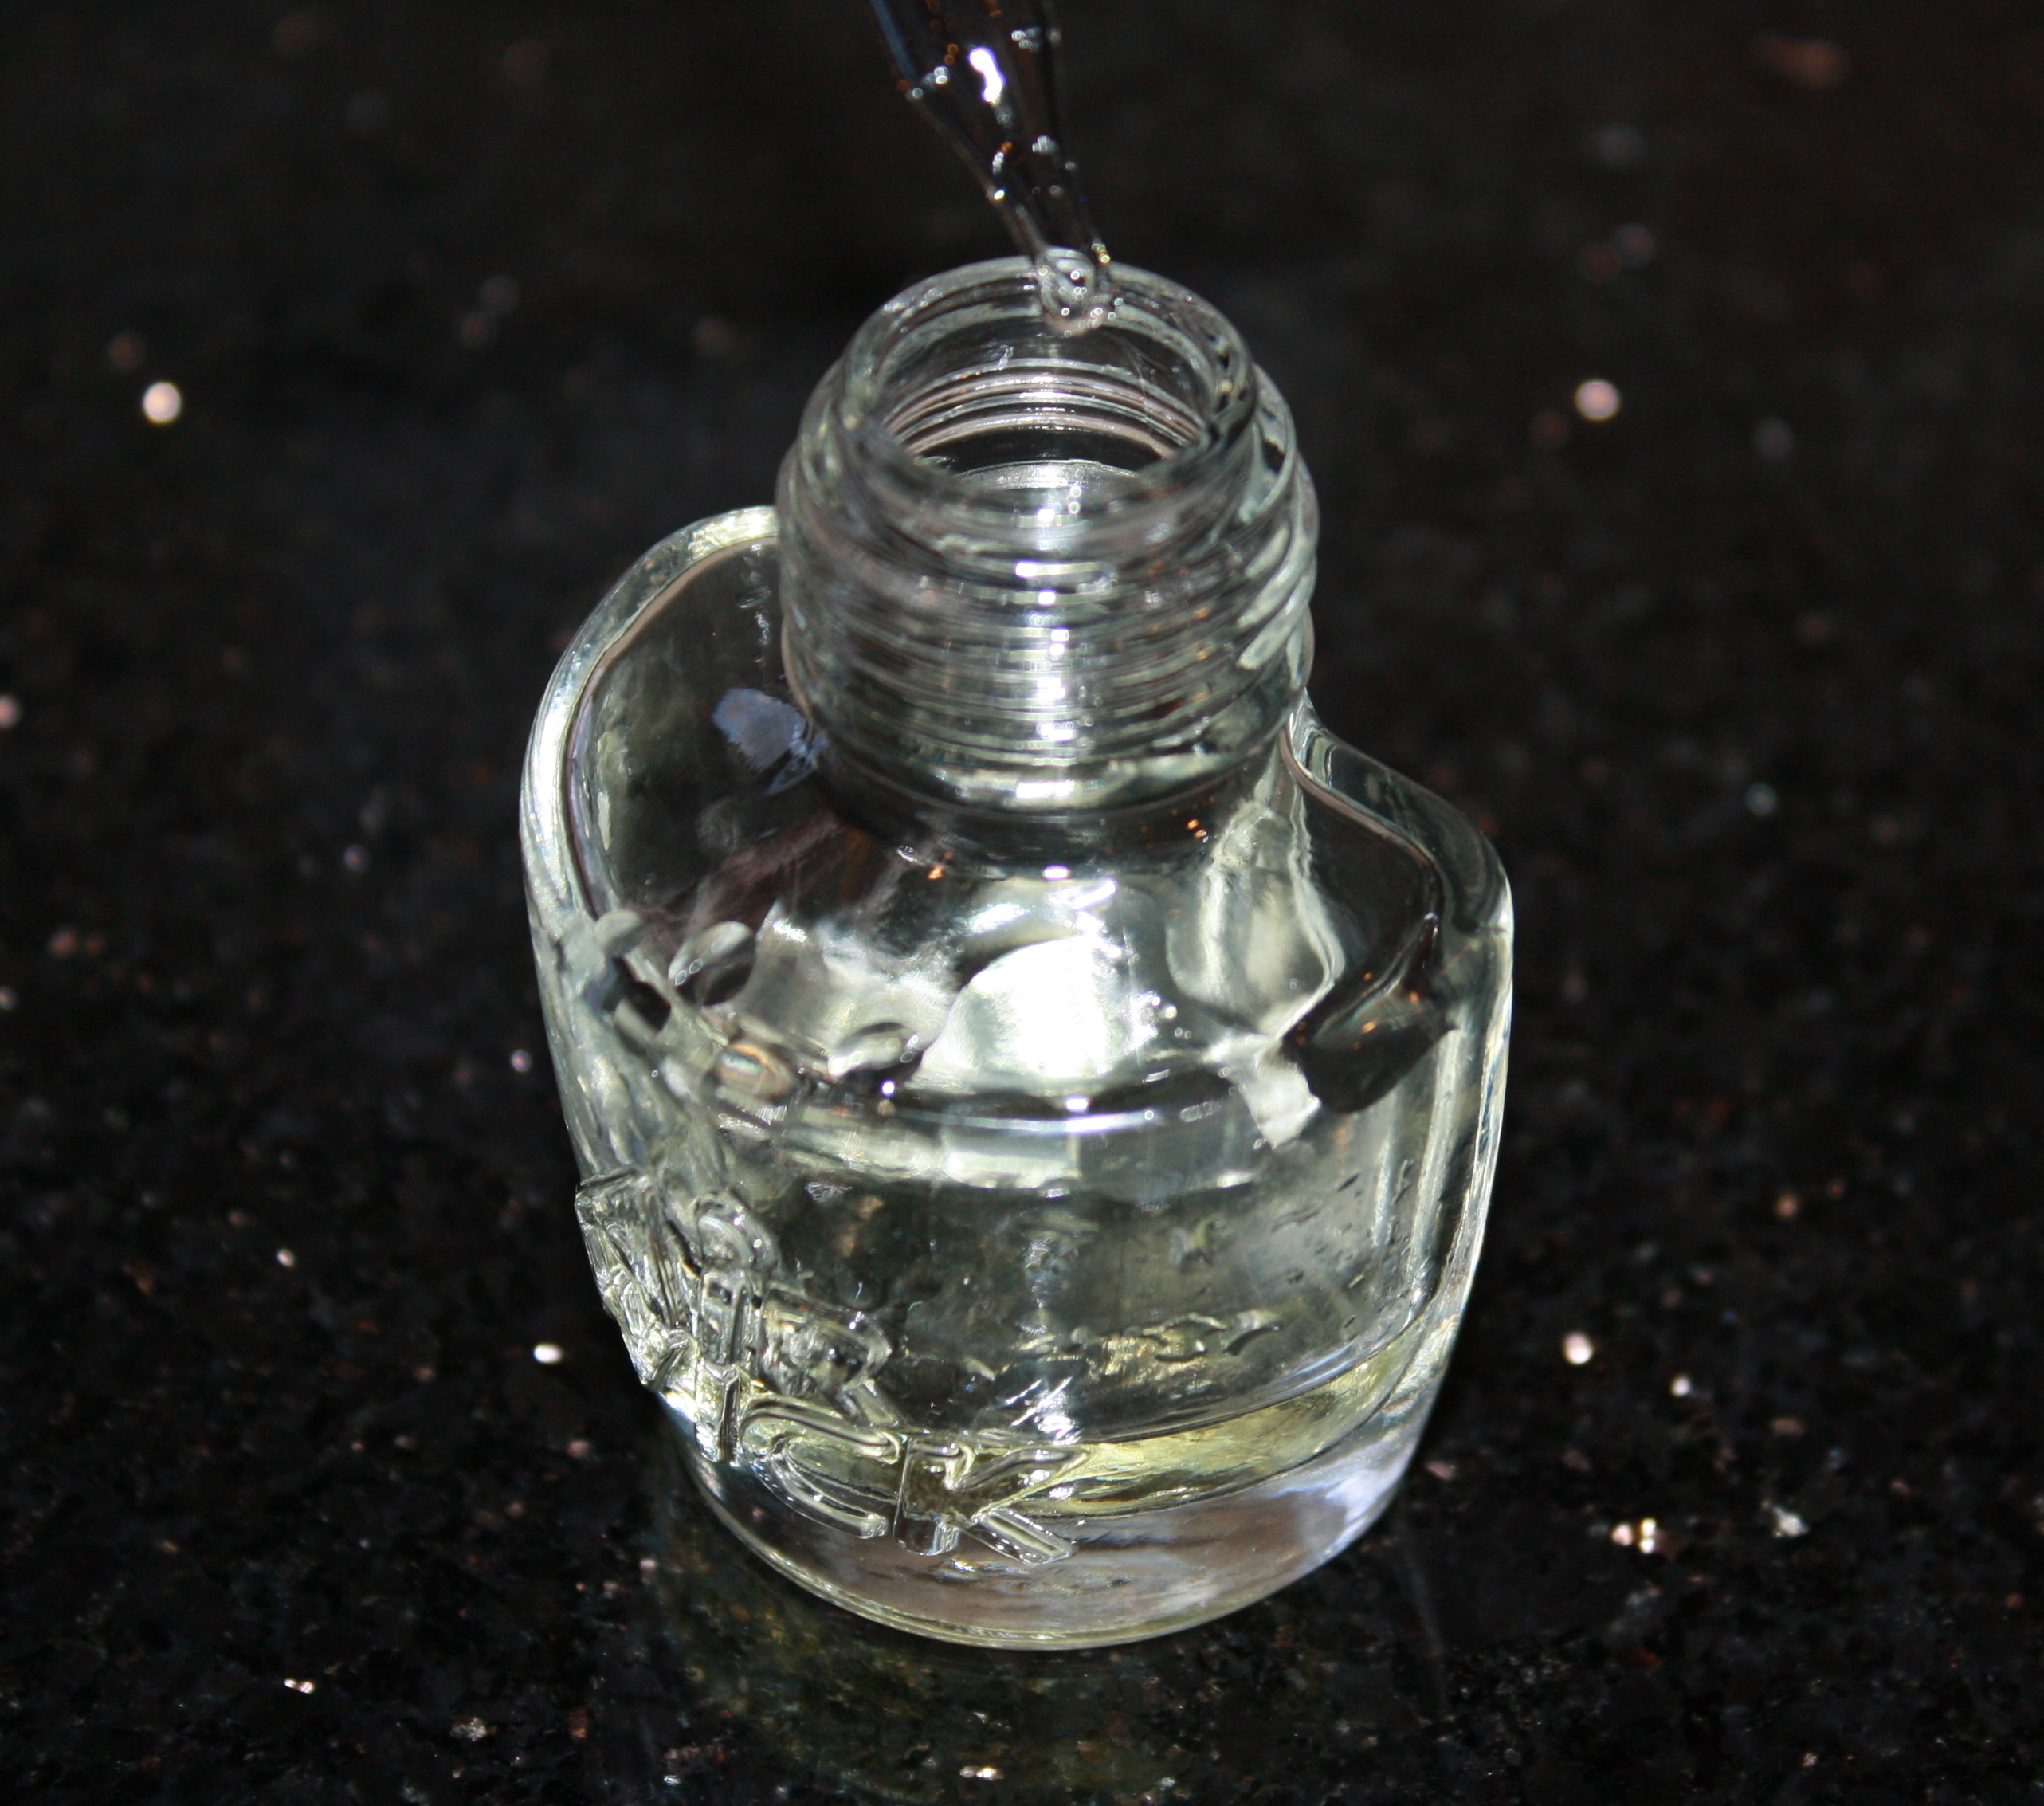
And then I filled the rest of the bottle with water.
The cap was replaced and the whole thing put to work.
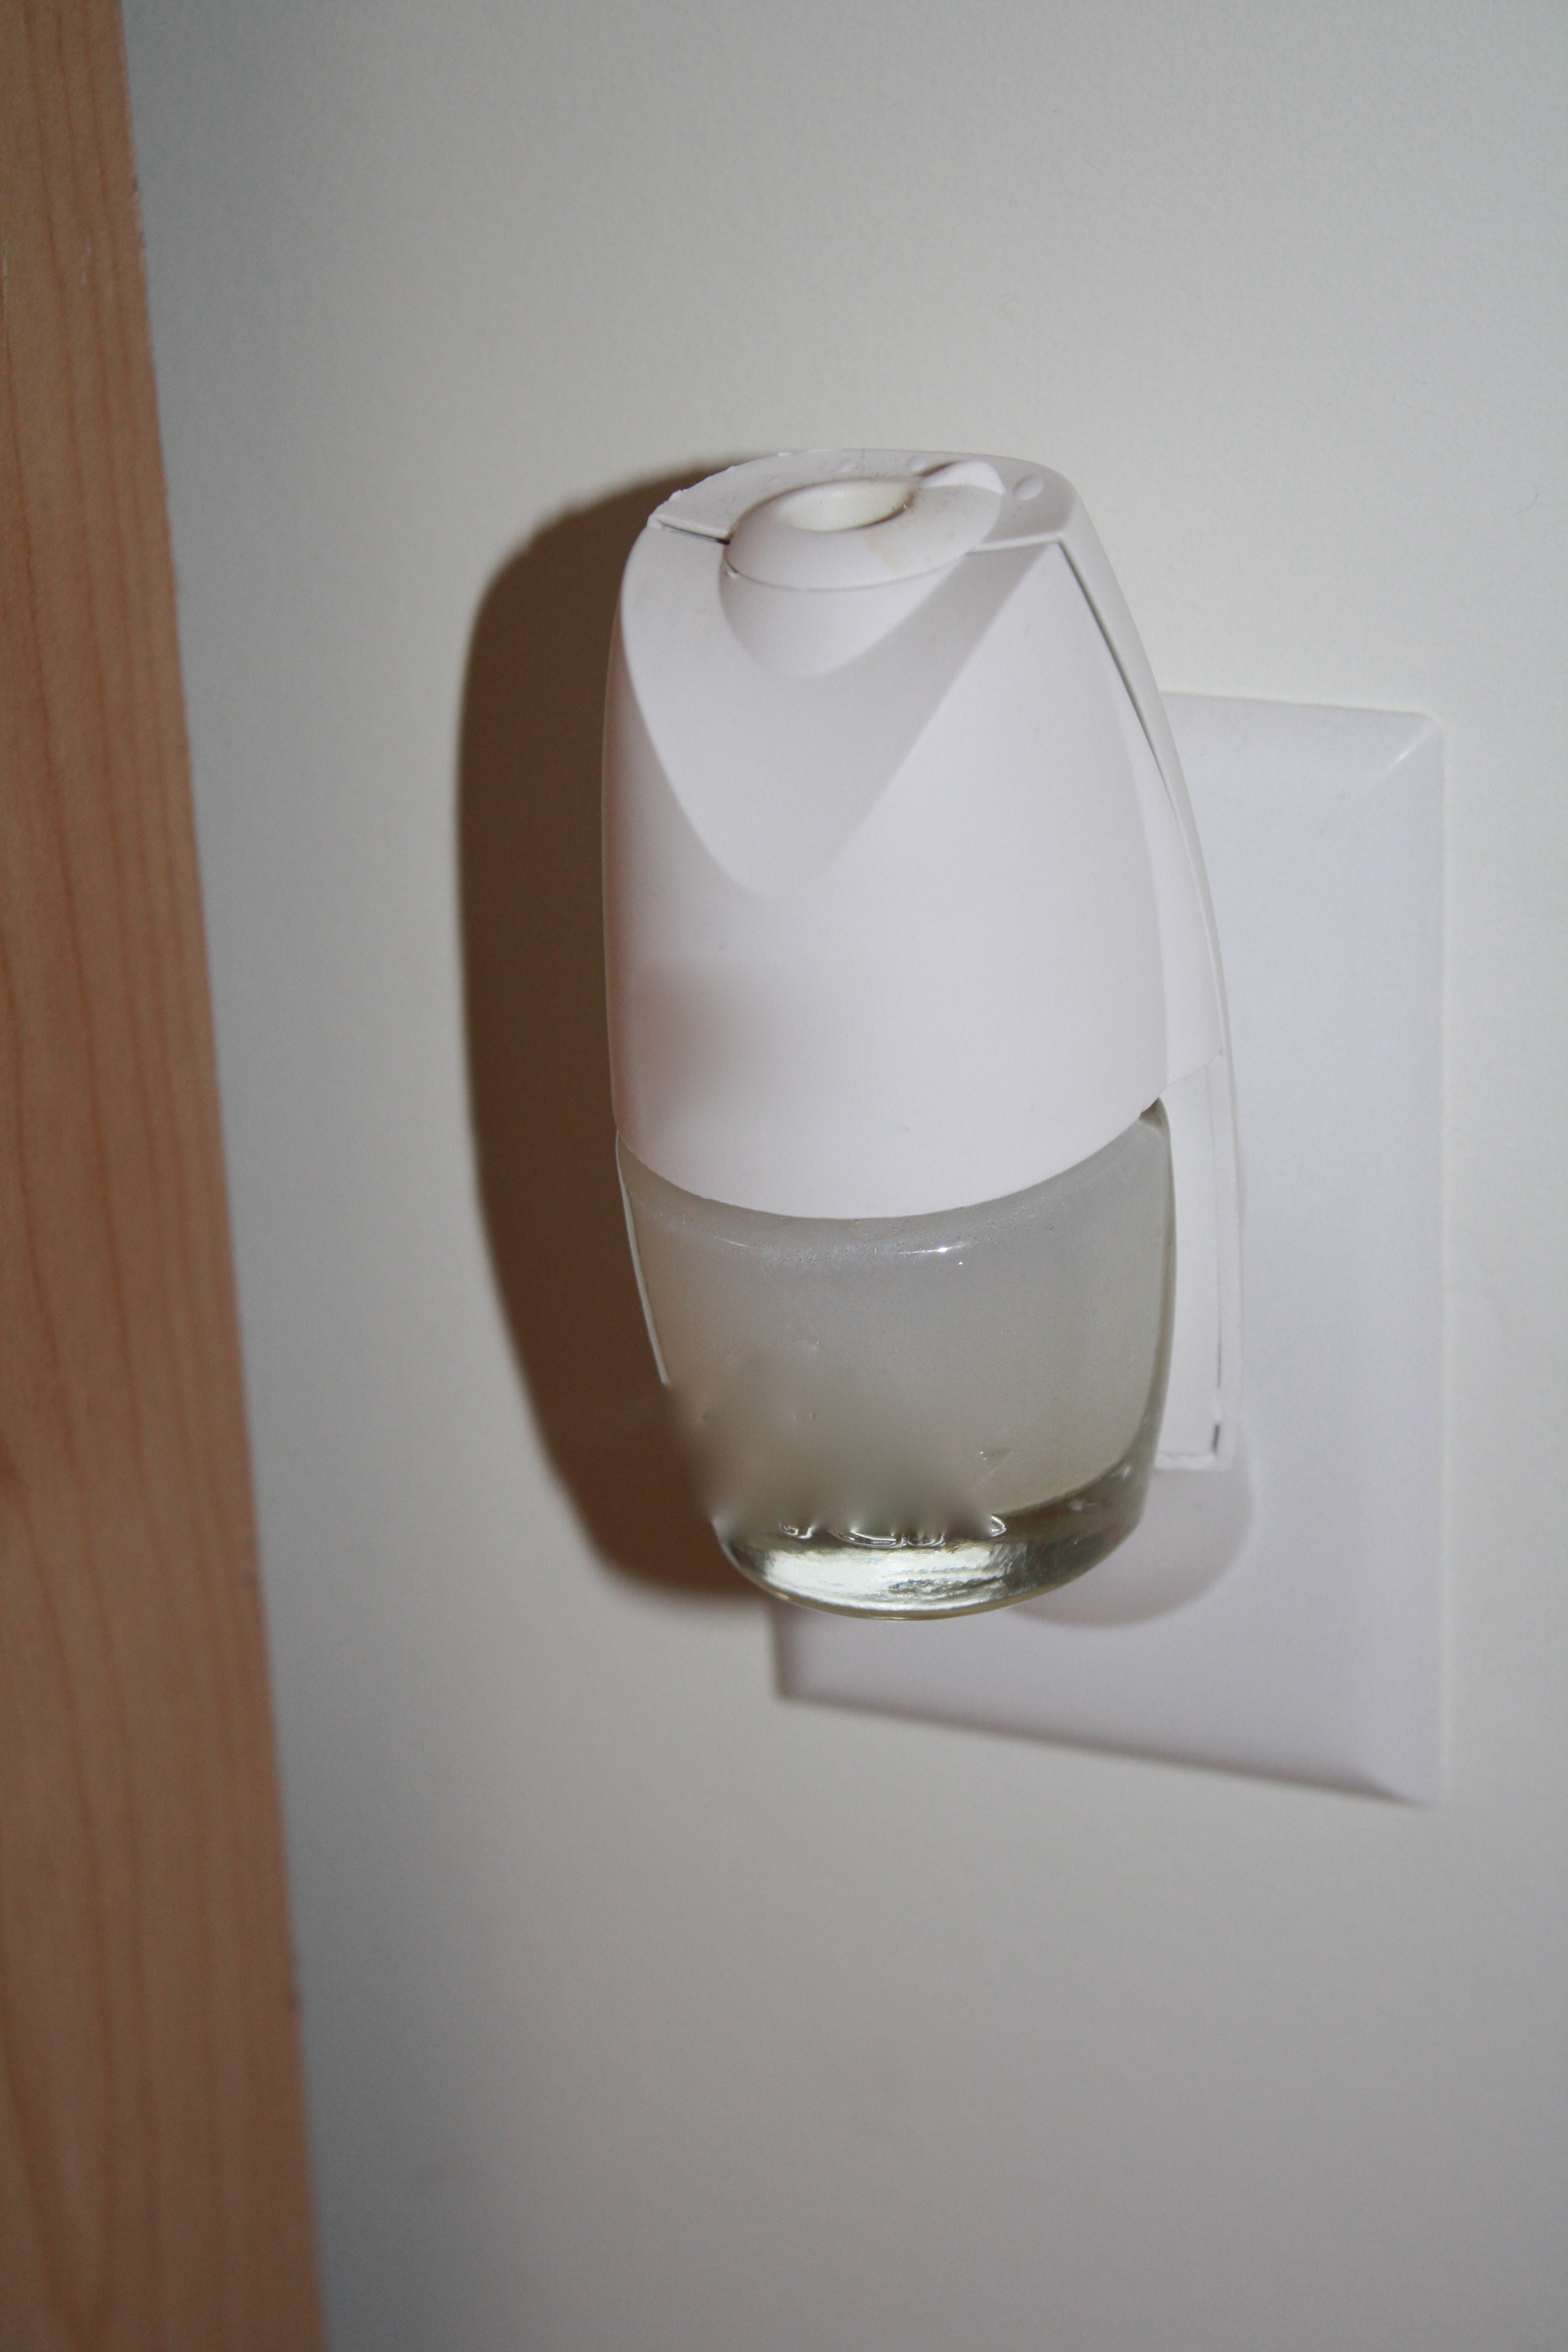
It works really well. The scent is not quite as strong as the original fragrance, but it does smell fresh and clean. Plus, I know there’s nothing in there but vanilla oil and water, which is kind of a refreshing thought by itself. After about a week, I noticed that the water had turned brown. I’m not sure why that has happened, but it’s still working, so this was a great tip. Thanks Holy Crickey!
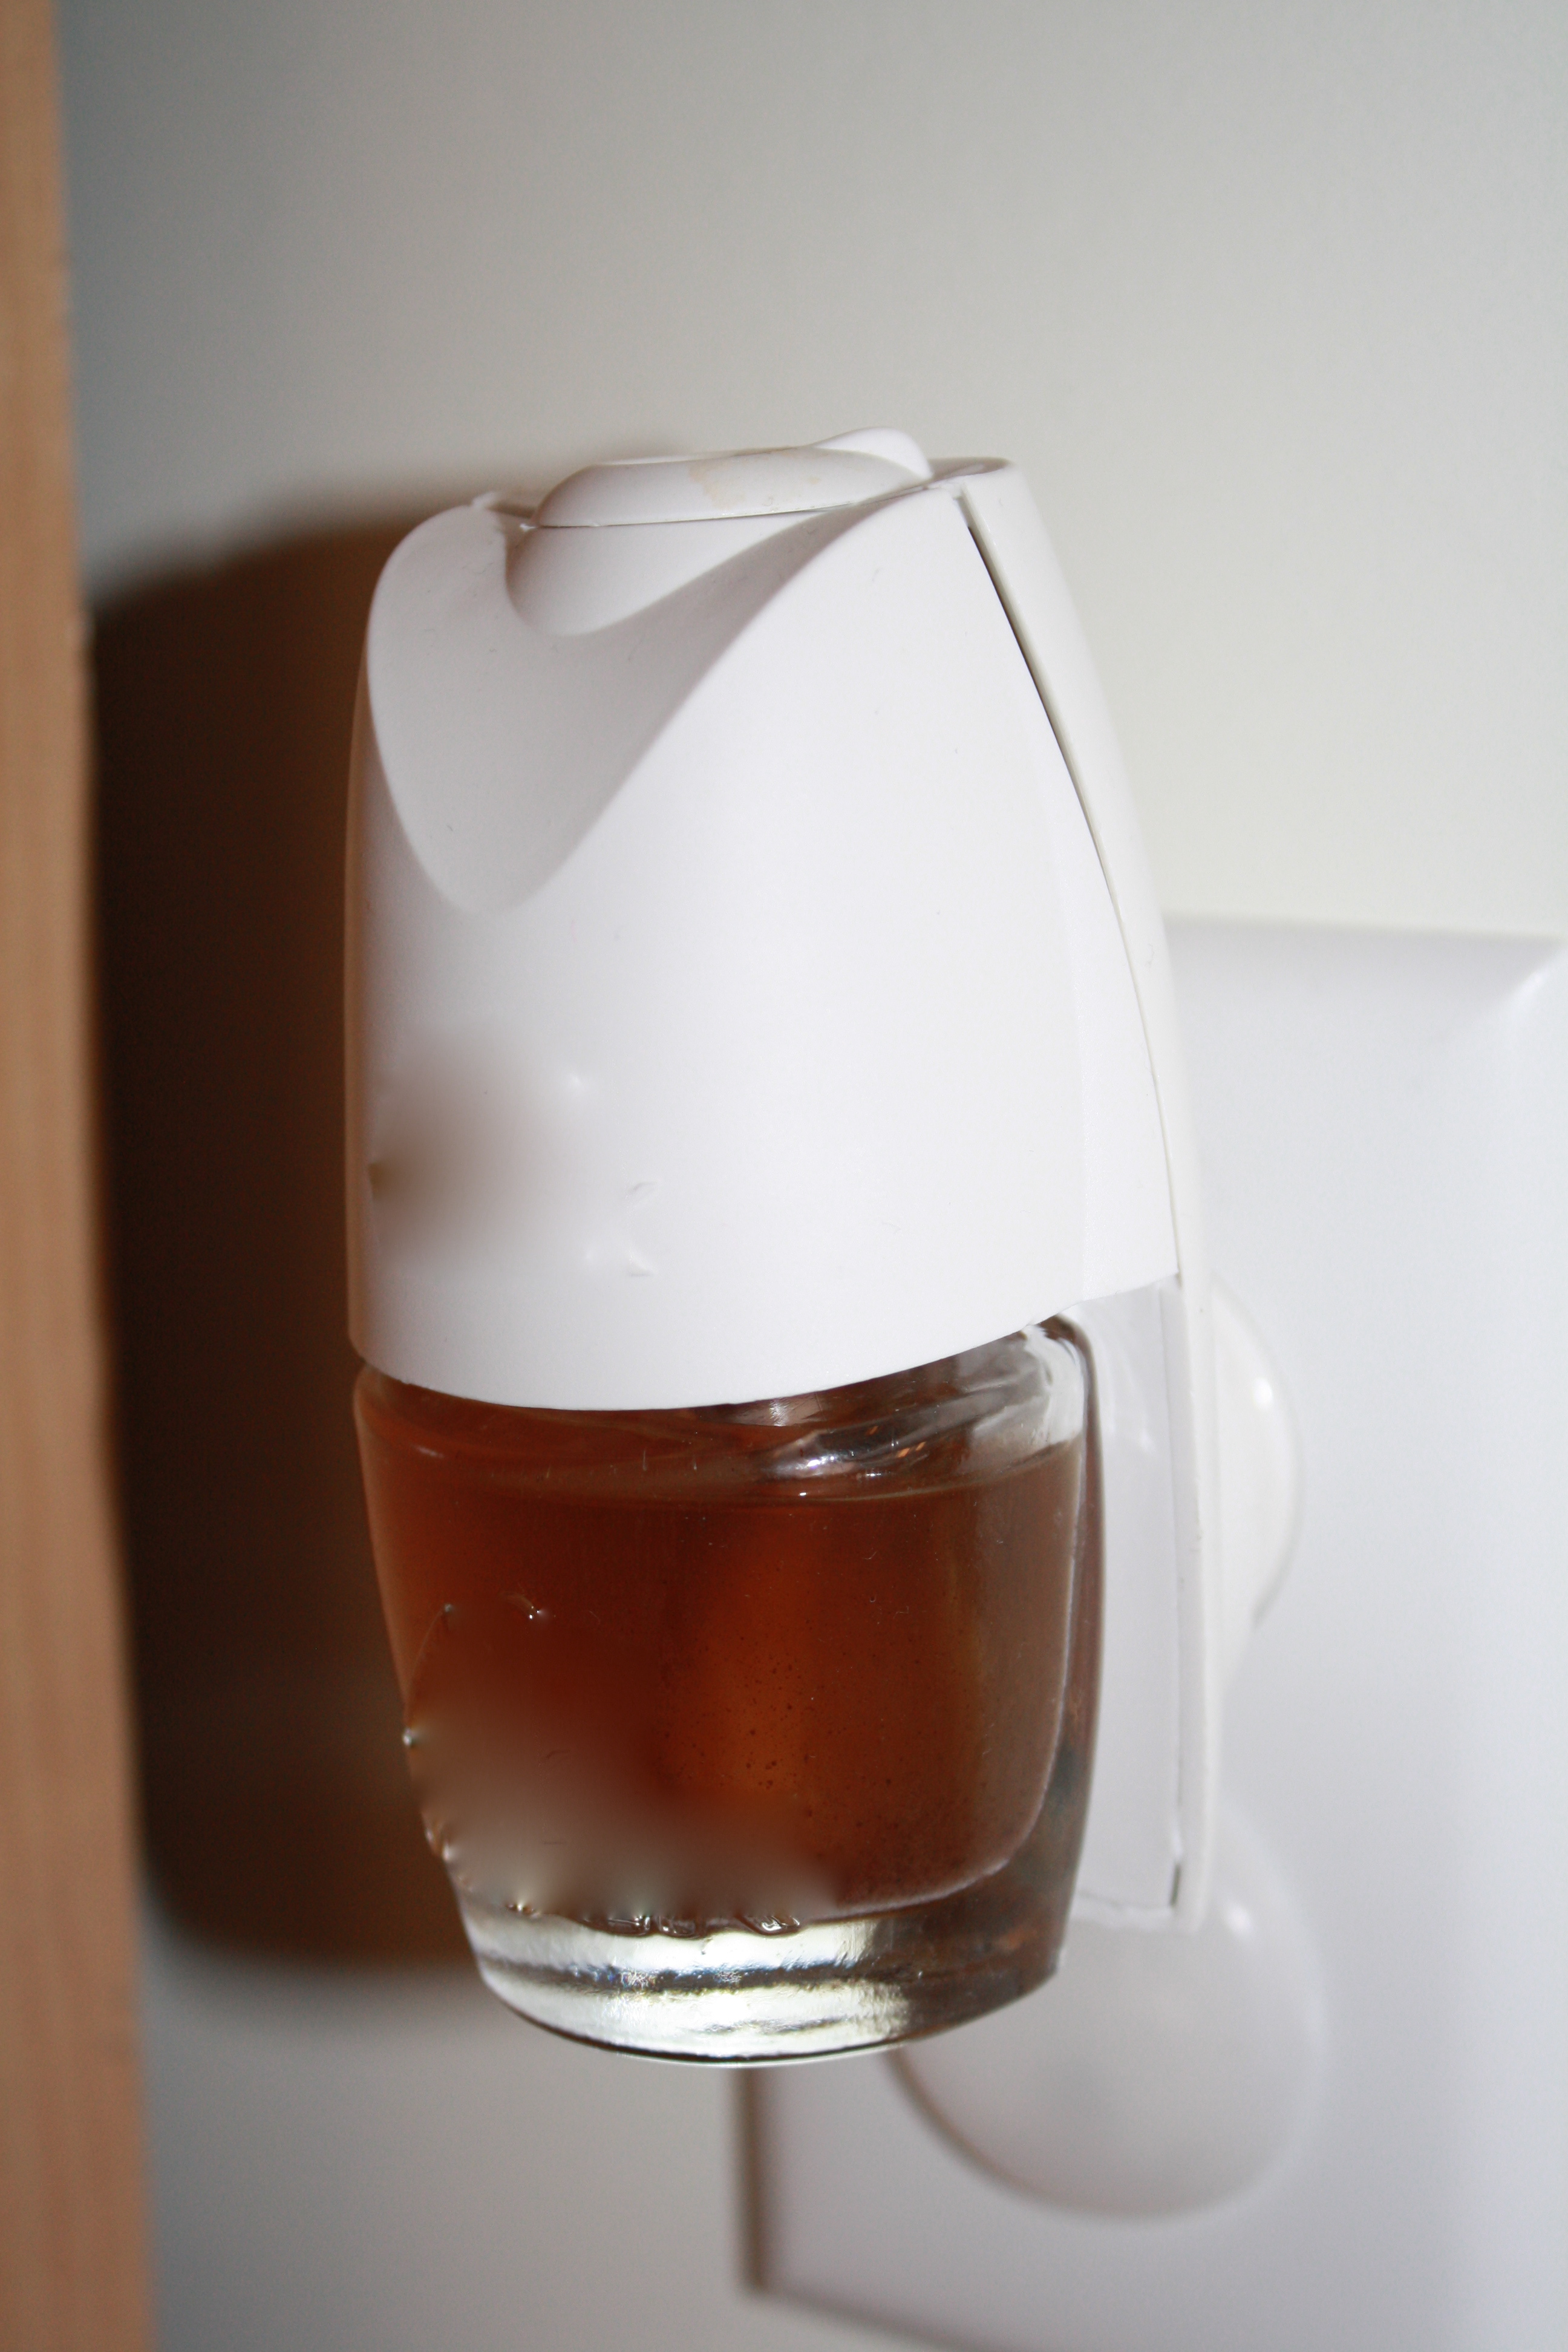

It’s possible that using distilled water will fix the brown water problem.
Thanks! I will try that.