Italian Easter Cookies – Attempting to Channel My Grandmother
When I was a kid, my grandmother used to bake a lot, and she would always let us “help” her, though that mostly just involved licking the spoons and beaters clean. She used to make these delicious little Italian Easter cookies, that I have yet to be able to emulate. I found a recipe on the board, and decided to try it this year. The photo on Pinterest looks like this:

These look like little buttons, but my grandmother made them in little knots, so I made some modifications.
Ingredients:
Cookies:
- 1/2 cup butter
- 3/4 cup white sugar
- 3 eggs
- 1 teaspoon vanilla extract
- 1 teaspoon almond extract
- 1/4 cup milk
- 1/4 cup vegetable oil
- 3 3/4 cups all-purpose flour
- 5 teaspoons baking powder
Icing:
- 4 cups confectioners’ sugar
- 1/2 cup butter, softened
- 1 teaspoon vanilla extract
- 1 teaspoon almond extract
- 3 tablespoons milk
- red food coloring (optional)
Directions:
- Preheat oven to 350 degrees F (175 degrees C).
- In a large bowl, cream together 1/2 cup butter and white sugar until light and fluffy. Beat in the eggs one at a time, then stir in 1 teaspoon vanilla and 1 teaspoon almond extract, 1/4 cup milk and oil. Combine the flour and baking powder, stir into the wet mixture. Roll dough into 1 inch balls. On a lightly floured surface, roll the balls out into ropes about 5 inches long. Tie into loose knots and place cookies 1 inch apart onto the prepared cookie sheets.
- Bake for 5 minutes on the bottom shelf and 5 minutes on the top shelf of the preheated oven, until the bottoms of the cookies are golden brown. When cookies are cool, dip them into the icing.
- To make the icing, cream together the confectioners’ sugar, 1/2 cup butter, and 1 teaspoon vanilla and 1 teaspoon almond extracts. Beat in 3 tablespoons milk, one tablespoon at a time, then stir in the food coloring if desired. After cookies have cooled completely, dip them into the icing and allow to dry.
_____________________________________________________________________________________________________________________
First I creamed the butter and sugar,

and then I beat in the eggs, vanilla, and almond extract.

Next the dry ingredients were incorporated.

I started with dough balls that were a bit smaller than an inch,

and then rolled them out and formed a little knot.

They went into the 350 degree oven for five minutes. The original recipe calls for the pans to be greased, but I prefer to use silpat mats or parchment paper. It’s a much easier clean-up, and the bottoms of the cookies never scorch.
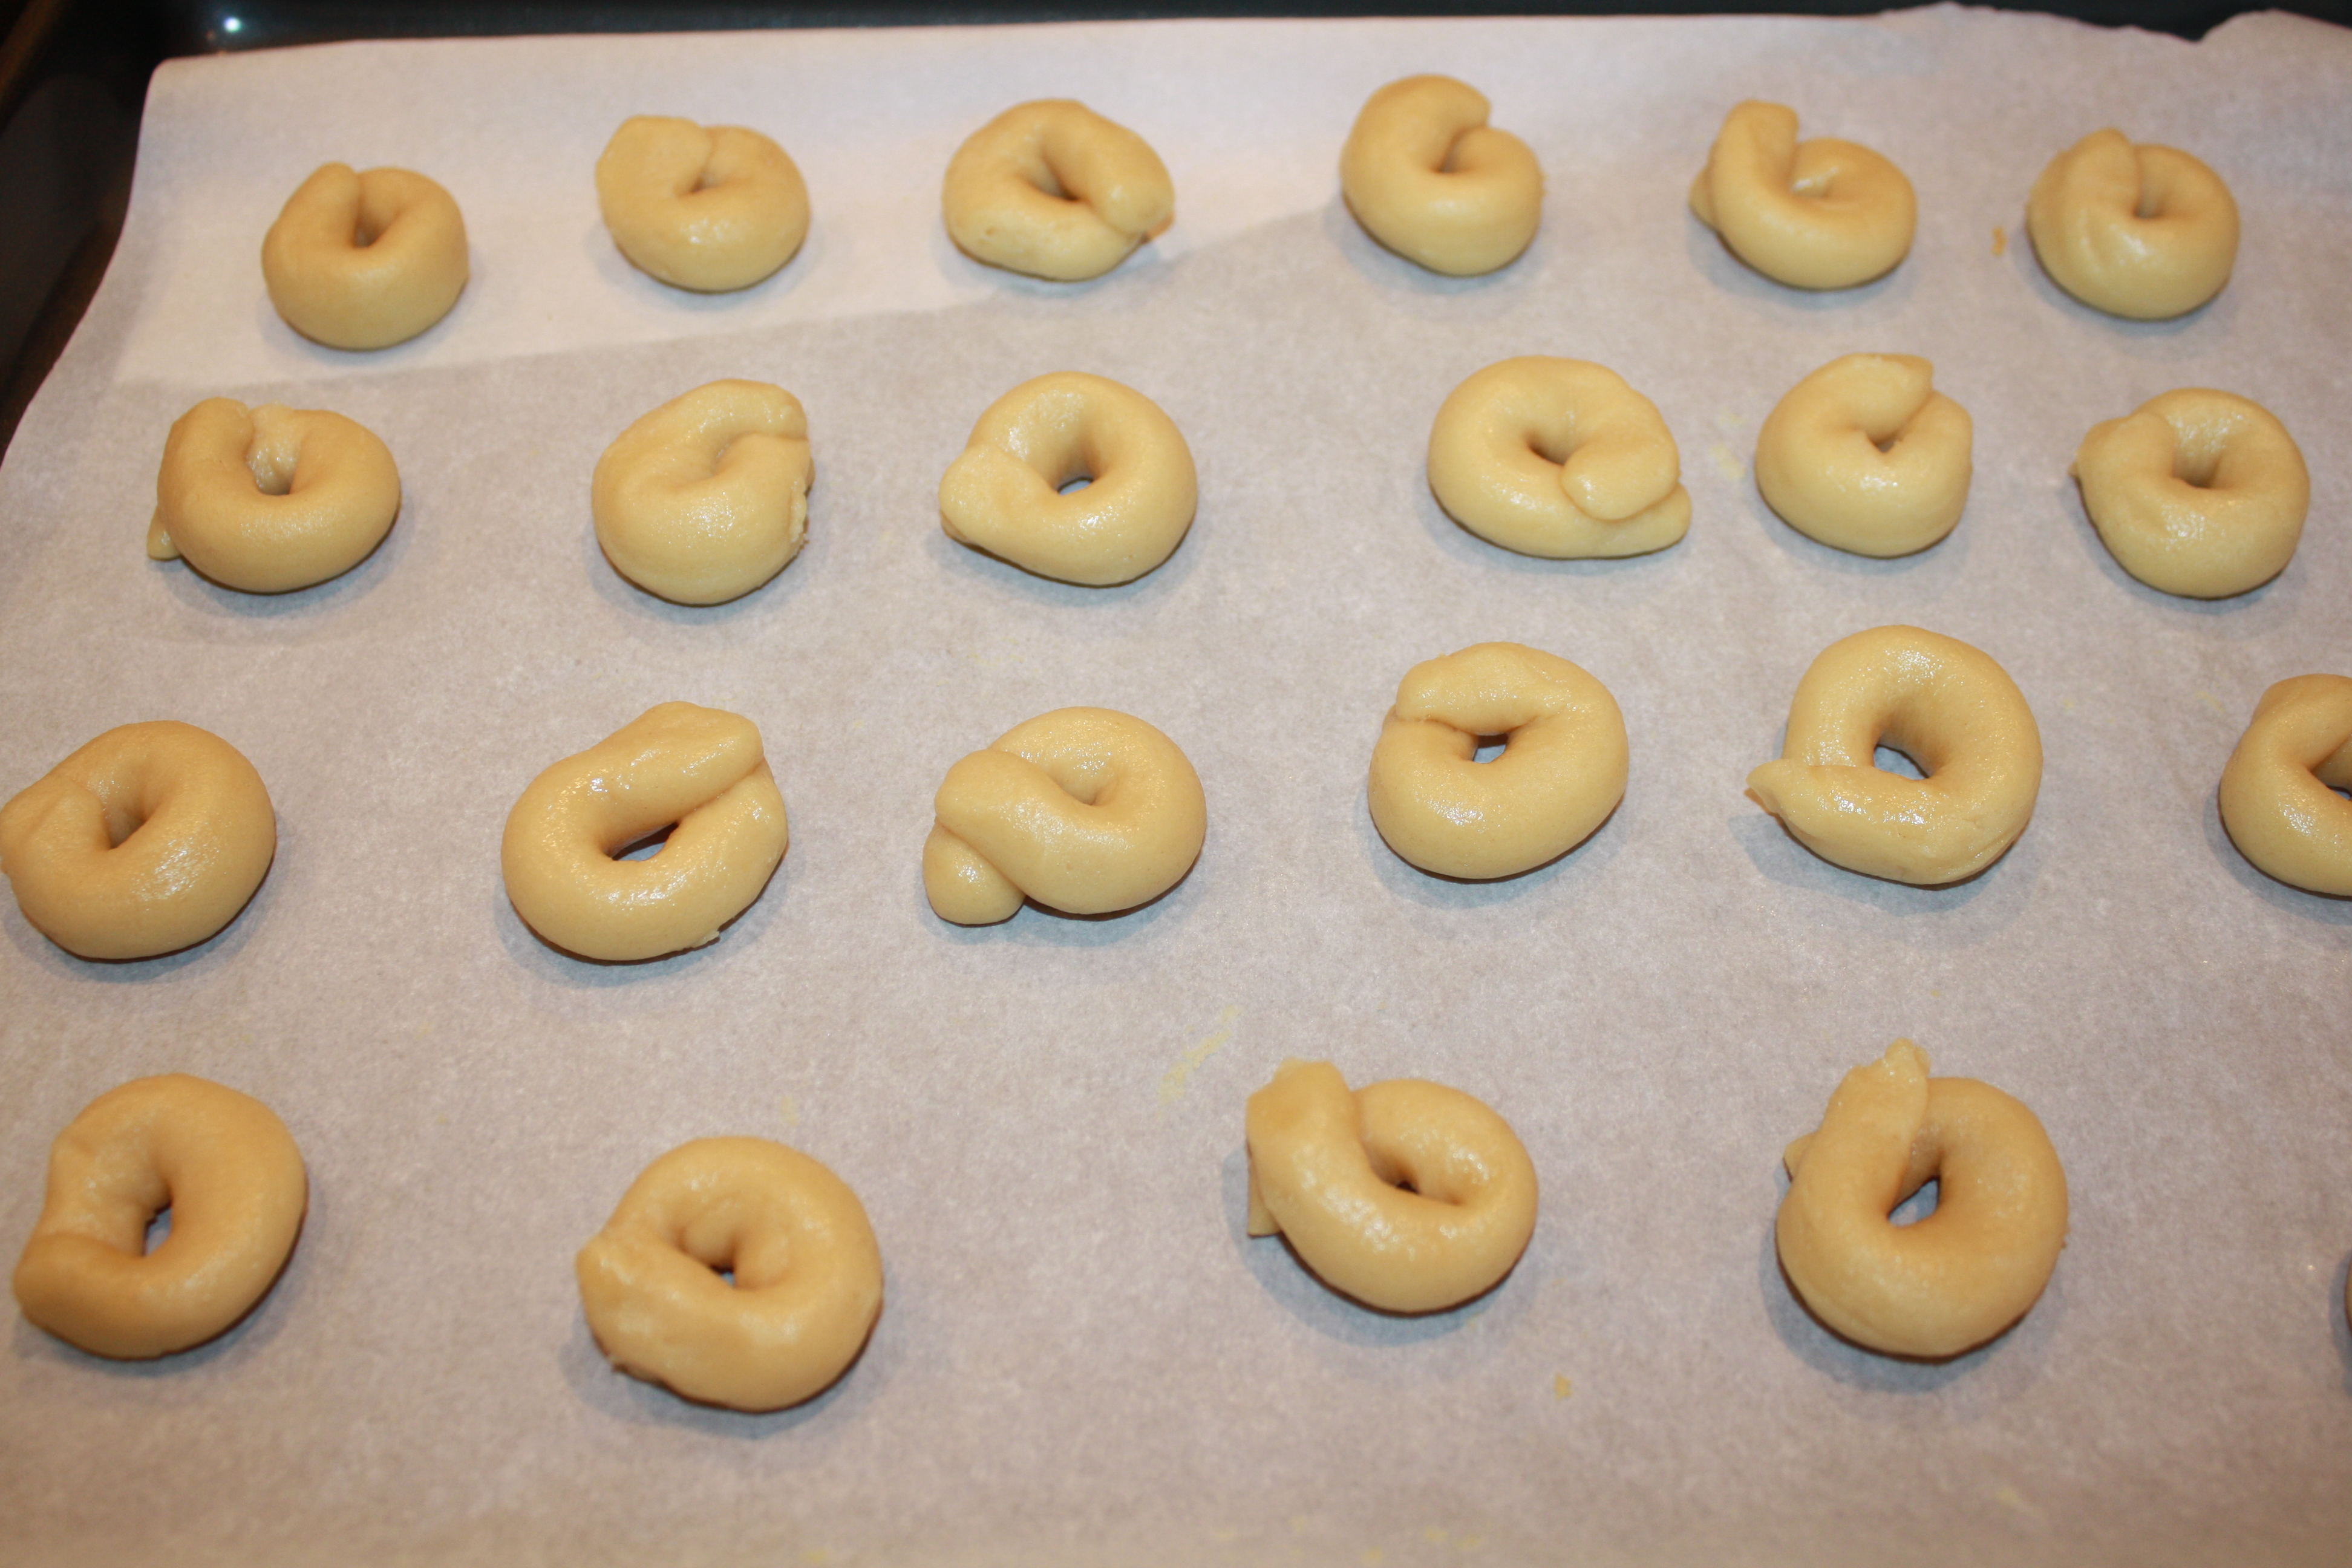
After five minutes, they were still bigger than the ones Grandmom used to make.

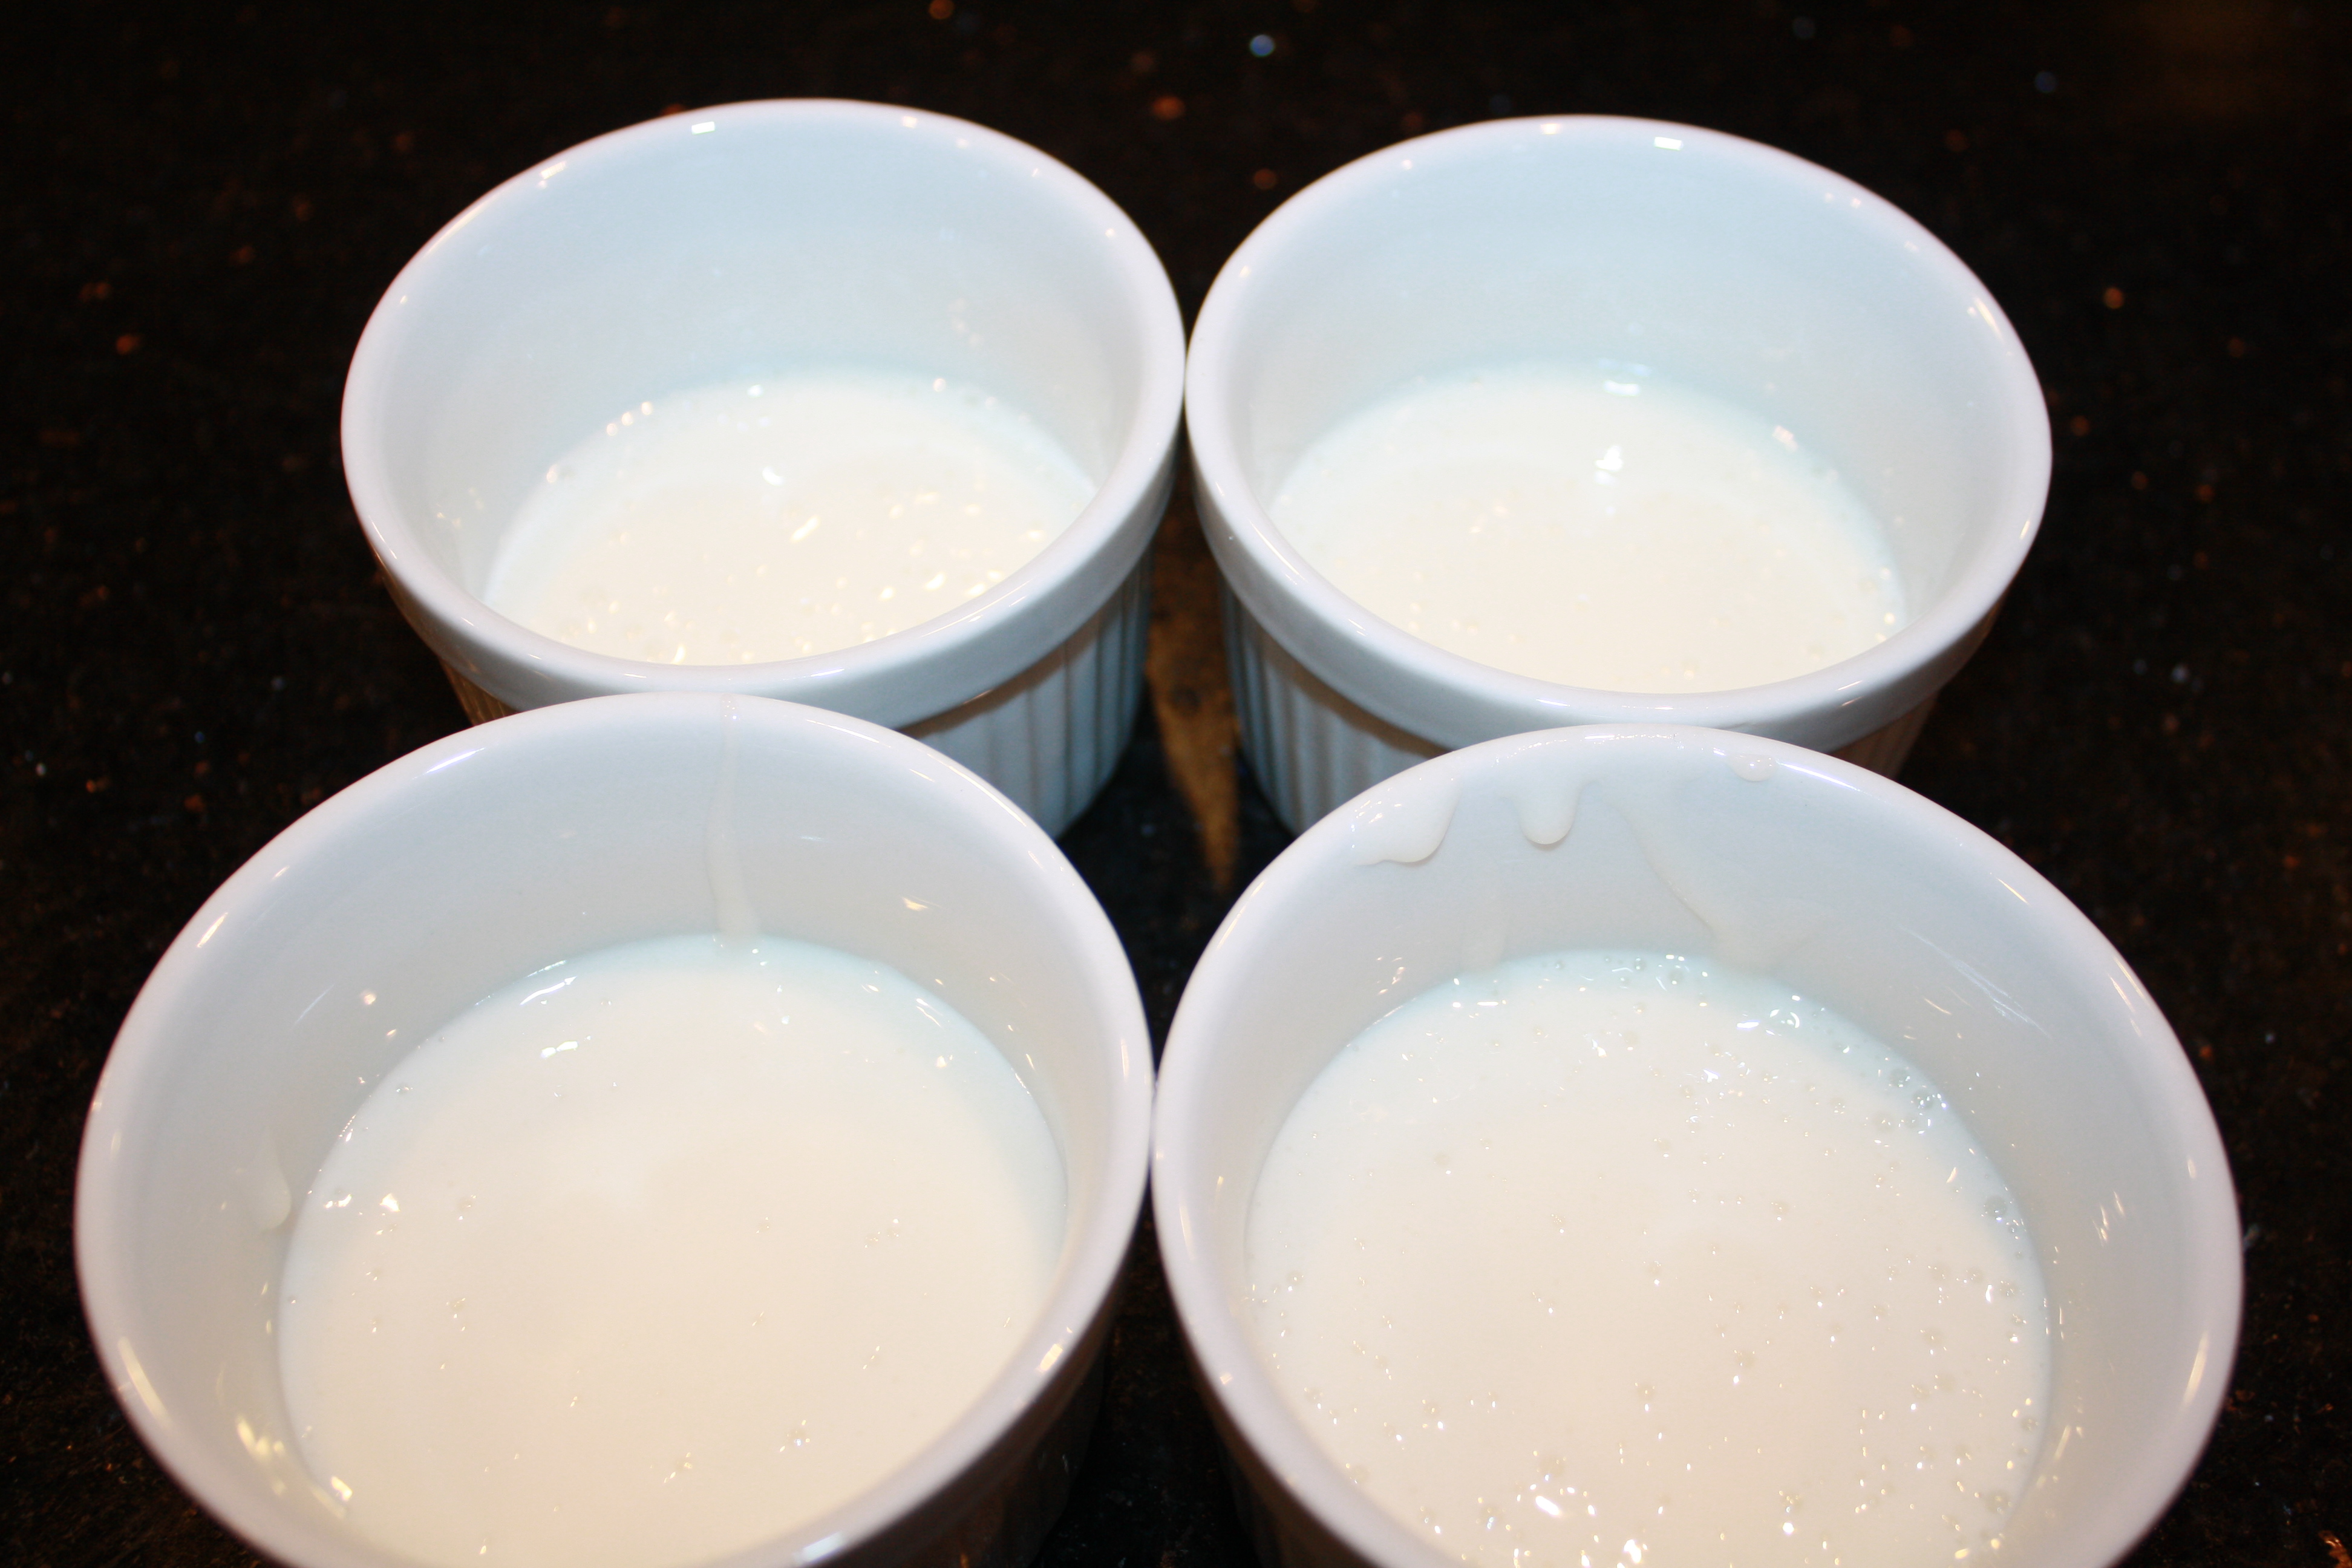
Then I prepared the icing
and added food coloring.

Once they had dried, they looked really great.

These were very good, but not as good as my grandmother’s. They came out very soft, where my grandmother’s were nice and crunchy.Perhaps if these had been baked a little longer, the result would be harder cookies. In any case, they were good, and disappeared very quickly. Someday my grandkids will be lamenting that they just can’t replicate my creations. It’s the Circle of Life.

Pingback: 100 Easter Ideas - Decorating, Food and more!